Podcasting: From Idea to First Episode
A practical guide to starting a podcast: define the audience and format, choose the right mic for your room, record and edit clean audio, publish through an RSS feed, and stay consistent.
A podcast is a series of audio episodes, sometimes with video, published regularly so listeners can subscribe and receive each new episode automatically. Knowing how to start a podcast well has little to do with buying a microphone first. It starts with the audience, the idea and the format; recording, editing, publishing and promotion come next, and consistency matters more than all of them. This guide walks from idea to first published episode, with the equipment and audio basics that separate a show people finish from one they abandon after a minute.
Start with the audience and the idea
Answer four questions before anything else. Who is the listener? What do they care about or struggle with? Why would they listen to you rather than someone else? Where and when do they listen? Someone listening on the drive to work is different from someone at the gym or doing housework, and that shapes episode length and pace.
Then turn the idea into a specific promise. "A podcast about entrepreneurship" is generic. "Stories from small restaurant owners in Kuwait: what worked and what failed" tells listeners exactly what they will get. Test it: can you list twenty episode ideas right now? If not, the idea is too narrow or not ready yet.
Decide the language and register: simplified formal Arabic, a local dialect or English, depending on your audience. Choose a clear, searchable name that says what the show is about, and cover art that still reads at thumbnail size on a phone.
If the podcast belongs to a brand, make it serve the audience's interests, not the company's adverts; nobody subscribes to a commercial. The broader editorial principles of content creation are in the complete guide to journalism and content writing.
Choose the right format
| Format | Strengths | Challenges |
|---|---|---|
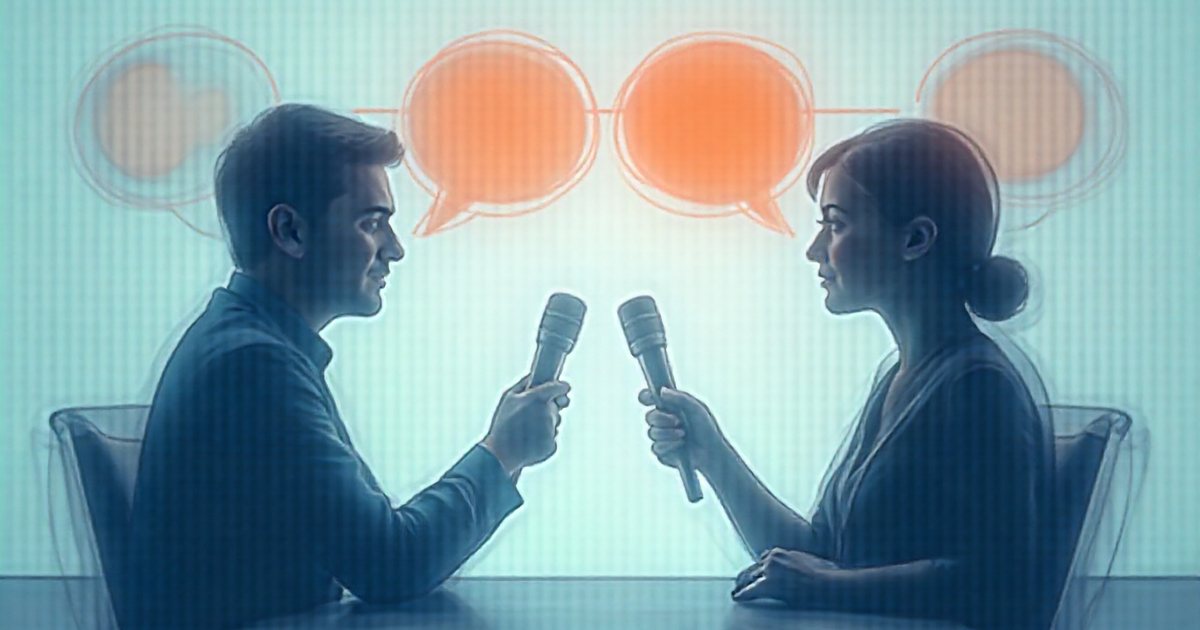
| Interview | Variety, and each guest may bring an audience | Scheduling and interviewing skill |
| Solo | Full control and easy scheduling | Needs strong preparation and vocal presence |
| Co-hosted | Natural conversation and energy | Needs chemistry and clear roles |
| Narrative | Memorable, high production value | The most demanding to script and produce |
| Panel | Several viewpoints | Harder to record and moderate |
If you choose interviews, preparation and questioning are covered in conducting a journalistic interview. If you want a video version, decide early, because it changes your space, lighting and camera needs.
Let the material set the episode length rather than a fixed number: an episode should be as long as its content deserves. Pick a frequency you can sustain, weekly or fortnightly, because disappearing without warning loses listeners faster than anything else.
Episode structure
A common structure that suits most shows:
- Cold open: a short clip from the episode's strongest moment.
- Intro: a brief music sting with the show's name and promise.
- Set-up: the topic, the guest, and why it matters to the listener today.
- Main content: clear segments linked by transitions from the host.
- Recap: the key takeaways.
- One call to action: subscribe, share or send questions, not all three.
- Outro: thank the guest and announce the next episode.
Prepare an outline, not a full script, unless the show is narrative. A full script makes delivery stiff; an outline keeps the order and leaves the conversation natural.
Equipment basics
Dynamic or condenser microphone?
- Dynamic microphones are less sensitive and mainly pick up sound close to them, so they reject room noise and echo. That makes them a good fit for untreated rooms at home or in the office, though they need more gain.
- Condenser microphones are more sensitive and capture finer detail, but they capture the room too. They suit quiet, treated spaces, and XLR condensers need phantom power (48 V) from the audio interface.
Connection type matters as well. A USB microphone plugs straight into the computer, simple and fine for one person. An XLR microphone needs an audio interface but is more flexible and easier to expand to several mics.
The audio interface
An audio interface sits between the microphone and the computer. It amplifies the weak mic signal with a preamp, converts it from analogue to digital, supplies phantom power to condensers and gives you a headphone output for monitoring. The number of inputs sets how many mics you can record at once. The alternative is a portable recorder with XLR inputs that records to a memory card with no computer.
Headphones and accessories
Use closed-back headphones while recording so their sound does not leak into the mic; ideally every participant wears a pair. Add a pop filter to soften the bursts of air on plosive sounds such as "p" and "b", and a solid stand or arm to keep the mic in place.
The recording space
The room matters more than the microphone. A small room full of soft furnishings, such as rugs, curtains, sofas and bookshelves, absorbs echo. An empty room with hard walls and glass makes you sound like you are in a bathroom. Test with a single clap: if you hear ringing afterwards, add soft materials. A wardrobe full of clothes is a well-known trick for a dry vocal sound.
- Noise sources: in the Gulf the air conditioning runs most of the year, and its steady hum is obvious on a recording. Switch it off while recording if you can, or move the mic away and point it in the opposite direction. Watch out for fridges, computer fans, traffic and phone notifications.
- Mic technique: keep a steady distance, roughly a few fingers to a hand's width from a dynamic mic, and speak slightly across it rather than straight into it.
- Levels: set gain so peaks stay well out of the red, roughly between -12 and -6 dB on your recording meter. A slightly quiet recording can be raised; a clipped, distorted one cannot be fixed.
- Format: record uncompressed audio such as WAV, at common settings like 48 kHz and 24-bit.
- Room tone: record a few seconds of silence at the start. You will need it to fill gaps in the edit.
Remote recording
Guest in Dubai, host in Cairo? Do not rely on recording the call itself; call audio is compressed and suffers from connection drops. The better method is for each person to record their own voice locally on their device, then combine the tracks in the edit. Remote recording platforms do this automatically, recording each participant on their own machine and uploading the file.
Guest checklist before recording: earphones are mandatory to prevent echo, a wired connection or strong Wi-Fi, a quiet room, other apps and notifications closed, and a test call beforehand. Record the call too as a backup, and allow for time zone differences when scheduling.
Editing and processing
Edit for the listener. Cut long silences, repetition, false starts and tangents, but do not remove every hesitation; natural rhythm is part of the appeal. Audacity, Adobe Audition and DaVinci Resolve all handle the job.
A common processing order: light noise reduction, then EQ to remove low rumble and tame harshness, then compression to even out loud and quiet passages, then final loudness. The concepts of mixing voice with music are explained in audio in video: dialogue, music and effects, and they apply equally to podcasts.
Use only music licensed specifically for podcast use, and keep proof of the license.
Loudness
LUFS measures loudness as the ear perceives it across a whole program, not just its peaks. The aim is for every episode to sit at a similar level so listeners do not have to adjust the volume between shows. A commonly used target for stereo podcast files is around -16 LUFS integrated, with true peaks no higher than about -1 dBTP. Check the current recommendations of your host and the main listening apps, as the details can change.
Hosting, RSS and distribution
A podcast host stores your episode files and generates an RSS feed: a file listing every episode with its title, description and a link to the audio. You submit the feed link once to listening apps and directories such as Apple Podcasts and Spotify, and each new episode appears there automatically when you publish it on your host. A video version usually needs to be published separately on video platforms.
- Metadata: show name, a clear description that states the topic naturally, category, language and host name.
- Episode titles: descriptive and specific. Titles work here as they do anywhere, so the rules in writing compelling headlines without clickbait apply.
- Cover art: square, commonly 3000×3000 px. Confirm current specs in each app's help pages.
- Launch: many podcasters launch with more than one episode so new listeners have enough to judge the show.
- Own your feed: choose a host that lets you move the show and its feed elsewhere if needed, so you keep your subscribers.
Promotion and consistency
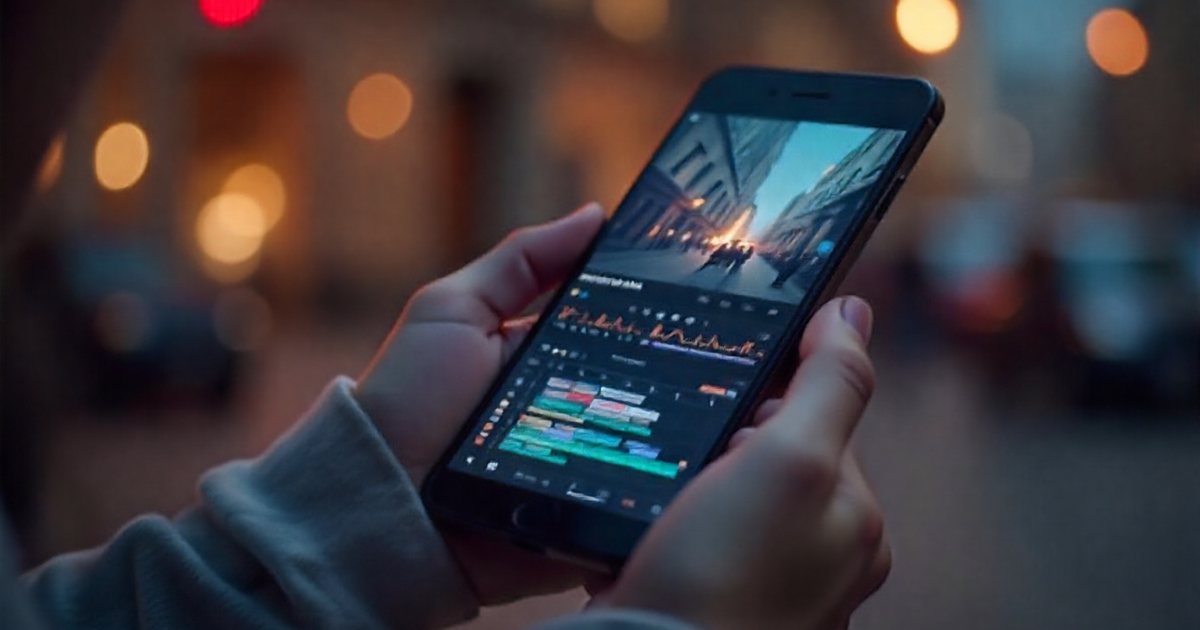
- Short clips: cut strong moments from each episode into vertical videos with captions for Reels, TikTok and Shorts. Techniques are in editing short-form video and subtitles and on-screen text.
- An episode page on your website with show notes and a transcript helps people who prefer reading and can appear in search results, as explained in writing for search engines without losing the reader.
- Guests as partners: send each guest ready-made clips and images to share.
- Your own channels: newsletters, WhatsApp channels and collaborations with shows close to your audience.
Consistency is harder than starting. Set a realistic publishing schedule, record several episodes in one session to build a buffer, and consider seasons, such as eight episodes followed by an announced break. Plan for Ramadan ahead of time, since your audience's listening times and habits may shift; your data will tell you. Track a few simple indicators: plays per episode in its first month, subscriber growth, completion rate where available, and listener feedback.
Checklist before publishing your first episode
- A defined audience and a clear promise for the show.
- At least twenty episode ideas.
- A format, length and schedule you can sustain.
- A mic that suits your room, and closed-back headphones.
- A tested room without echo, with the air conditioning off while recording if possible.
- A test recording checked on headphones before the real session.
- A clean edit, licensed music and consistent loudness across episodes.
- A clear name, cover art and description, with hosting set up.
- An episode page on your site with notes and a transcript.
- Promo clips ready, and the next episode's date set and announced.