Professional Smartphone Photography
Simple habits that turn phone photos into images fit for online stores and social media, whatever phone you use.
Smartphone photography can produce images good enough for commercial use (online stores, social media accounts, WhatsApp catalogs) if you treat the phone as a real camera: a clean lens, focus and exposure you control, good light, a steady hold and restrained editing. The gap between an ordinary phone photo and a professional one is rarely the phone model; it is almost always these habits. Features and mode names vary from phone to phone and between software updates, so this article covers general principles, and you should check where each setting lives on your own device.
Before you shoot: clean the lens and set the basics
A phone lens picks up fingerprints and dust constantly, because it sits right where your fingers hold the phone. One smudge is enough to make a photo hazy and put halos around lights. Wipe the lens with a microfibre cloth before every session, and avoid your shirt tail, which can carry sand or grit that scratches the cover glass.
Then set things up once:
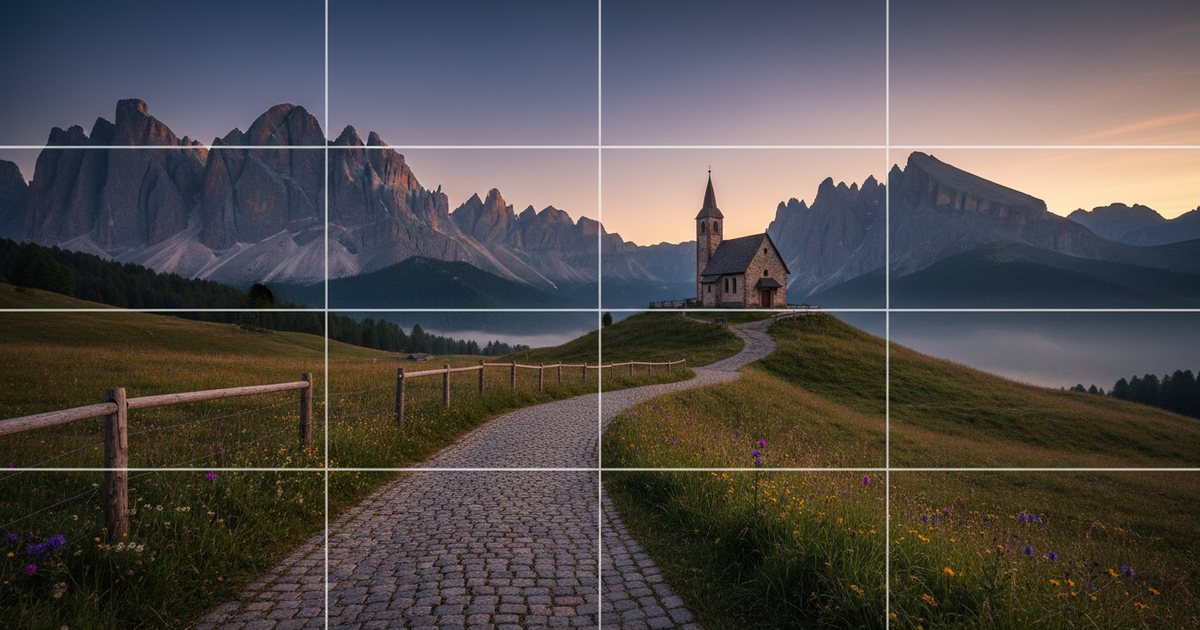
- Turn on the grid in the camera settings; it helps with composition and straight horizons.
- Choose the highest quality available and check you have enough free storage.
- Shoot in the sensor's native aspect ratio (usually 4:3), because ratios like 16:9 or 1:1 crop part of the image. Cropping later gives you more freedom.
- Enable RAW if your phone supports it and you plan to edit, bearing in mind that the files are much larger.
Focus and exposure: tap, lock, adjust
The phone decides by itself what to focus on and what to expose for, usually a face or the center of the frame. To take control:
- Tap the subject on the screen to focus and set exposure there.
- Press and hold on the subject (on many phones) to lock focus and exposure (AE/AF lock), so they do not change when you recompose or something moves in the frame.
- Drag the exposure slider that appears next to the focus box. In bright scenes, pull it down slightly to protect the sky or a white shirt from clipping; recovering shadows is much easier than recovering blown highlights.
These three steps alone fix most washed-out or blown-out photos. They are a direct application of the exposure triangle, which the phone manages for you in the background.
Using the multiple lenses
Many phones carry two or three cameras, each with a job:
| Lens | Usually shown in the app as | Use it for | Watch out for |
|---|---|---|---|
| Ultra-wide | 0.5x or 0.6x | Tight spaces, buildings, wide scenes | Edge distortion, weaker in low light |
| Main | 1x | Most shots | Usually the largest sensor and best quality |
| Telephoto | 2x, 3x or more | Portraits, products, details | Often weaker in low light |
Working rules:
- Main camera first: in low light the main camera is usually the cleanest option, because its larger sensor gathers more light. Some phones quietly crop from the main camera in dim conditions instead of using the telephoto, even when you select 2x or 3x.
- Do not shoot faces up close with the ultra-wide: it enlarges noses and stretches features at the edges. Step back and use the telephoto or main lens.
- Shoot products with the telephoto: it reduces distortion and keeps proportions closer to reality, which matters for store listings.
- Avoid digital zoom: anything beyond the optical focal lengths your phone's lenses provide is essentially cropping and enlarging, and you lose detail. Walk closer, or shoot with your longest optical lens and crop carefully if needed.
HDR, night mode and portrait mode
Phones rely on computational photography: they capture several frames in a fraction of a second and merge them into one image. Names and switches differ between brands, but the principles are similar:
- HDR (high dynamic range): merges frames at different exposures to keep detail in both a bright sky and deep shadows. Useful in high-contrast scenes such as a room with a bright window, but overdone HDR can look flat or unnatural and may leave ghosting around moving subjects.
- Night mode: gathers light over a second or more from multiple frames. Hold the phone still for the whole capture, ask people not to move, or rest the phone on something solid.
- Portrait mode: blurs the background in software to imitate a wide aperture. Zoom in and check the edges: hair, eyeglasses, transparent cups and the gaps between fingers are where the software often slips. Some phones let you adjust the blur after the shot.
Stability: half of image quality
A phone is light and shakes easily, especially in dim light when capture takes longer. Simple ways to stay steady:
- Hold the phone with both hands and tuck your elbows into your body, or lean on a wall or pillar.
- Use the volume button as a shutter release on phones that support it instead of tapping the screen, or use the self-timer (3 seconds) or a remote.
- A small tripod with a phone clamp is a modest investment that transforms product, food and night photos.
- Use burst mode for movement, then pick the sharpest frame.
Light: the phone's first rule
A small sensor excels in plentiful light and struggles in dim light, so improving the light matters more than any setting:
- Keep the light in front of or beside the subject, not behind it, unless you want a silhouette.
- Use windows: soft side light from a window is enough for excellent product photos.
- Mostly avoid the built-in flash. It is tiny and sits right next to the lens, so it gives hard, flat light and shiny faces. If you need extra light, aim a second phone's torch at a white sheet beside the subject so softer light bounces back.
- Do not mix window light with warm ceiling lights; the colors become hard to correct.
Reading light, its direction and its color is covered in Lighting in Photography: Natural and Artificial.
Pro mode and RAW files
Many phones offer a Pro or Manual mode with control over ISO, shutter speed, white balance and manual focus, and sometimes RAW capture (often as DNG files). If the built-in camera app lacks it, third-party camera apps may offer it. Manual modes can bypass some of the phone's computational processing, so an unedited RAW file may look less impressive at first, but it gives you more room to correct color and exposure. Use this mode when you have time and steady light, such as shooting store products on a table.
Shooting for platforms: orientation and size
Decide where the photo will be published before you take it:
- Stories and Reels: vertical 9:16, with the top and bottom kept clear of anything important, because the app interface covers them.
- Feed posts: the 4:5 portrait ratio (such as 1080×1350 px) is popular because it takes up more of the screen.
- WhatsApp catalog and online store: a simple, consistent background, the product centered, and consistent angles across all products.
These specs change from time to time, so confirm them in each platform's current help pages. Detailed rules are in Designing Social Media Posts, and step-by-step product shooting is in Product Photography for Online Stores on a Budget.
Editing on the phone
The phone's built-in editor covers most needs, and there are fuller apps such as Snapseed, Lightroom mobile and VSCO. Follow a fixed order:
- Crop and straighten horizons and lines.
- Exposure and contrast, then highlights and shadows.
- White balance to remove any color cast.
- Local adjustments if needed, such as brightening a face or removing a spot.
- Light sharpening, then export.
Avoid strong preset filters on product photos, because they change the true colors. When you find settings that suit a product series, save them and apply them to every image so the set stays consistent. Always keep the original. The full process from culling to export is in Photo Editing: A Professional Workflow.
Common mistakes
- Shooting through a dirty lens.
- Using digital zoom instead of moving closer.
- Letting the phone choose the focus point on product shots.
- Overdoing HDR and filters until the image looks artificial.
- Photographing people up close with the ultra-wide lens.
- Judging exposure on a screen turned to full brightness in the sun.
Quick checklist
- Is the lens clean?
- Is the grid on and the horizon level?
- Have you picked the right lens, with no digital zoom?
- Did you tap the subject and lock focus and exposure?
- Did you pull exposure down slightly to protect highlights?
- Is the phone steady: two hands, a support or a tripod?
- Is the light coming from the front or side, from a single source?
- Are the orientation and size right for the platform?
When the phone no longer meets the demands of your work, Choosing the Right Camera and Lenses will help you work out what you actually need. For the fundamentals that apply to phones and cameras alike, go back to our photography fundamentals guide.