Choosing the Right Camera and Lenses
The principles for picking camera gear that fits your work and budget, without relying on model recommendations that change every year.
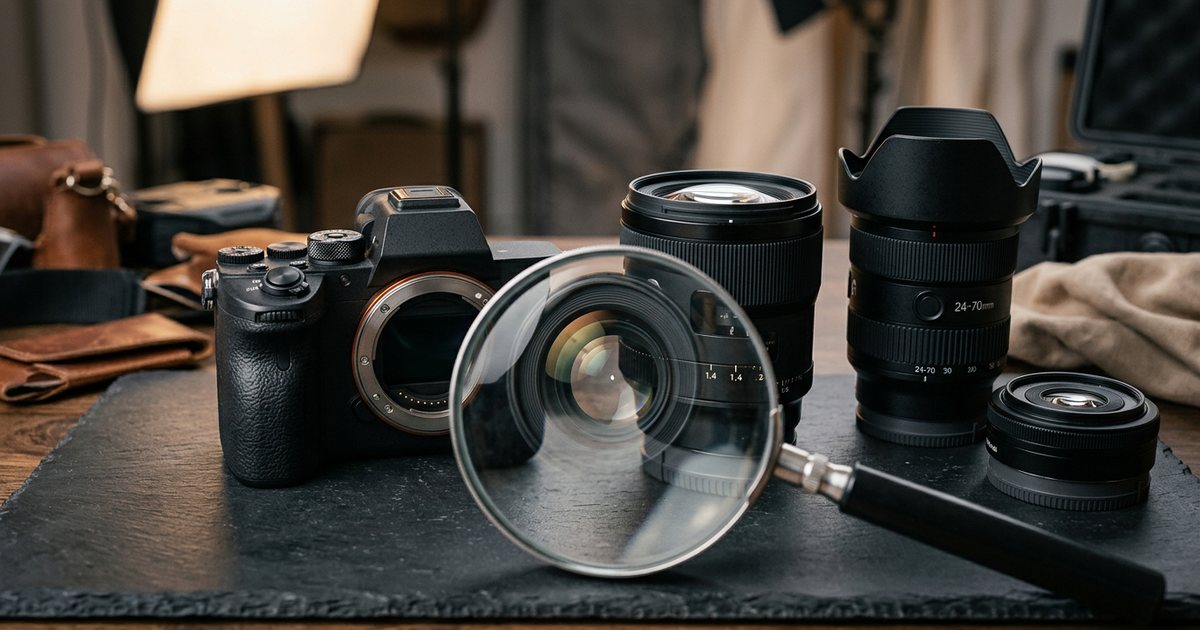
Choosing a camera starts with the kind of work you will shoot, not the brand name or the megapixel count. A product photographer working on a tripod in a lit room needs very different things from a conference photographer moving through a dim hall all day. This article explains the concepts you need to decide for yourself: sensor size, camera type, prime and zoom lenses, the right focal length for each use, and when buying used makes sense. It does not recommend models or prices, because models change every year while these principles do not.
Start from your work
Before comparing cameras, write down your answers to these questions:
- What will you shoot most of the time? Products, people, food, property, events or video content.
- What is the light like? A studio you control, dim hotel ballrooms, or strong outdoor sun.
- Does the subject move? Movement demands fast, accurate autofocus.
- Where will the images be shown? Screens and social platforms need far less resolution than large prints.
- Do you need video? If video is a core part of your work, the priorities shift.
- What is the total budget? Count the lens, spare batteries, memory cards, lighting and tripod, not just the body.
One question comes before all of these: is your phone enough? For social content and simple products the answer may be yes, as covered in Professional Smartphone Photography.
Sensor size and crop factor
A larger sensor gathers more light per frame, which usually means less noise in low light and easier control of shallow depth of field, but the camera and lenses tend to be bigger and more expensive.
| Format | Approximate dimensions | Approximate crop factor |
|---|---|---|
| Full frame | 36 × 24 mm | 1 |
| APS-C | About 23.5 × 15.6 mm (slightly smaller on Canon) | 1.5 (about 1.6 on Canon) |
| Micro Four Thirds | 17.3 × 13 mm | 2 |
| 1-inch type | About 13.2 × 8.8 mm | About 2.7 |
There are also sensors larger than full frame (medium format), aimed at specialized work such as high-resolution fashion and advertising.
The crop factor lets you compare field of view across formats. A 50 mm lens on a 1.5x APS-C sensor gives a field of view similar to a 75 mm lens on full frame. The lens's focal length does not change; the smaller sensor simply records a smaller part of the image the lens projects. So whenever you read a focal length recommendation, check whether it is stated as a full-frame equivalent, as it is in this article.
A smaller sensor does not mean poor quality. APS-C and Micro Four Thirds cameras produce excellent commercial images, are lighter, and often use smaller, lighter lenses. The crop factor even gives sport and wildlife shooters more reach from a smaller lens.
Mirrorless or DSLR?
A DSLR uses an internal mirror to send light to an optical viewfinder, so you see the scene directly through the lens. A mirrorless camera shows what the sensor sees on a screen or an electronic viewfinder (EVF).
| Criterion | Mirrorless | DSLR |
|---|---|---|
| Viewfinder | Electronic; previews exposure and white balance before the shot | Optical; shows the scene as your eye sees it |
| Size and weight | Usually smaller and lighter | Usually larger |
| Autofocus | Uses the sensor; many models track faces and eyes | Uses a separate AF module when shooting through the viewfinder |
| Battery | Usually uses more power because of the screen and EVF | Usually lasts longer when shooting through the viewfinder |
An electronic viewfinder is a real advantage for beginners, because it shows the effect of aperture, shutter speed and ISO before you press the button. In recent years, the major manufacturers have focused most of their new bodies and lenses on mirrorless systems. Even so, a used DSLR is still a capable tool and can be an economical entry point, especially given the used lenses available for it. The bigger decision is not the body but the system, meaning the lens mount: buying a camera means choosing the range of lenses you will buy from for years. Make sure the system offers the lenses your work needs, and that servicing and parts are available in your country.
Prime or zoom?
- Prime lens: a single focal length, such as 35, 50 or 85 mm. Usually smaller, lighter and wider in aperture (f/1.8 or wider) than a zoom in the same class, and very sharp. The trade-off: you move your feet to change the framing.
- Zoom lens: a range of focal lengths, such as 24–70 or 70–200 mm. Great flexibility when you cannot move, as at events and conferences. Constant-aperture zooms (such as f/2.8 across the range) are larger, heavier and more expensive; variable-aperture zooms (such as f/3.5–5.6) are lighter and cheaper but lose light as you zoom in.
A working rule: a standard zoom for flexibility plus a fast prime for low light and portraits covers most beginners' commercial needs.
Focal length by use
The figures below are full-frame equivalents and are starting points, not strict rules:
| Range | Common uses |
|---|---|
| 14–24 mm (ultra-wide) | Interiors, property, architecture, tight spaces |
| 24–35 mm (wide) | Events, environmental portraits showing a person in their setting, reportage |
| 50 mm (standard) | General use, products, food, half-length portraits |
| 85–135 mm (short telephoto) | Portraits and staff headshots, with less facial distortion |
| 70–200 mm (telephoto) | Stages, conferences from the back of the hall, sport |
| Macro lens (often 90–105 mm) | Product details, jewelry, watches, food |
Each specialism has its own needs: property calls for a wide lens and straight lines, as in Real Estate and Architectural Photography; events call for zoom flexibility and a wide aperture, as in Event and Conference Photography; and portraits benefit from short telephotos, as in Portrait and Corporate Headshot Photography.
Aperture and low light
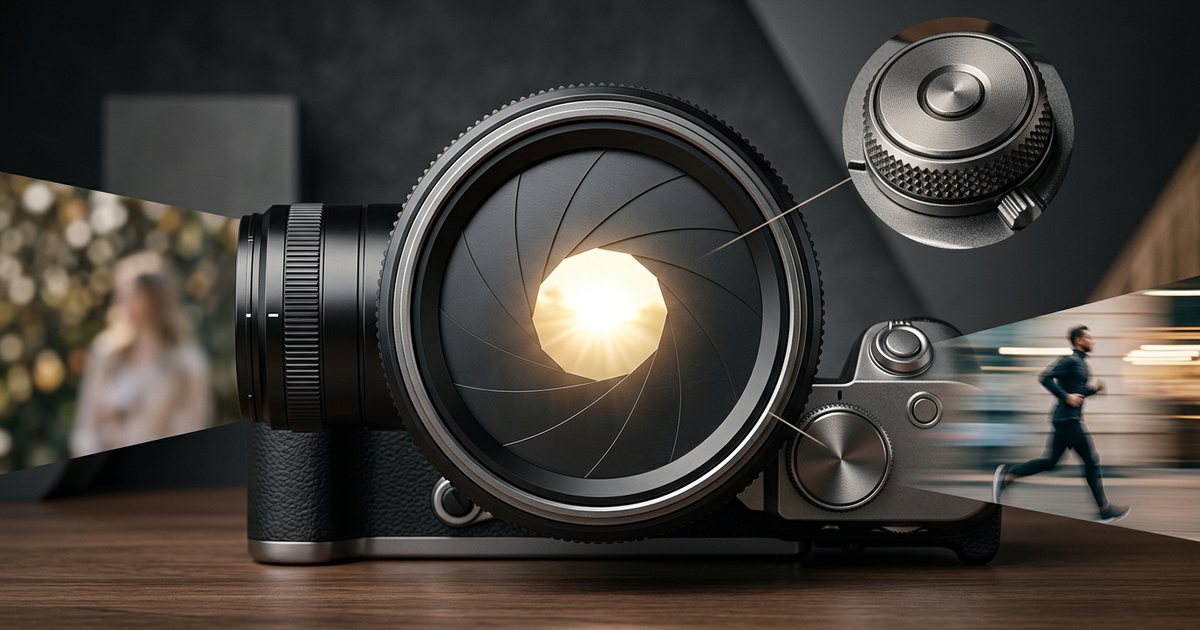
A lens's widest aperture is its most important number when you work in dim light. The difference between f/2.8 and f/5.6 is two full stops: the first lets in four times the light, so you can use a shutter speed four times faster or an ISO four times lower. In a dim conference hall, that can be the difference between a sharp photo and a blurred one. On many cameras a wider aperture also helps autofocus speed and accuracy in low light. To see how aperture balances with shutter speed and ISO, read The Exposure Triangle.
Lens stabilization and in-body stabilization
- Optical stabilization in the lens: sold under names such as OIS, VR or IS, it moves a group of lens elements to counter shake.
- In-body image stabilization (IBIS): moves the sensor itself, so it works with most lenses you mount, including unstabilised primes.
Many current cameras combine the two. Stabilization lets you hand-hold at slower shutter speeds and helps a lot with video, but it does not freeze moving people. On a tripod, some manufacturers recommend switching it off, so check your manual.
What matters more than the body
- Lenses: they stay with you for years after you change bodies, and they affect sharpness and low-light performance more.
- Lighting: one external flash or a good LED panel with a softbox improves product shots and portraits more than a body upgrade.
- A tripod: essential for products, property and night work.
- Memory cards and batteries: reliable cards with suitable write speeds, plus spare batteries. At events, a camera with dual card slots gives you an instant backup of every frame.
- Dust and humidity protection: in the Gulf, dust, sand and coastal humidity are real factors. Store gear somewhere dry with silica gel packs, and clean it after every outdoor shoot.
Buying used equipment
The used market can save a lot of money, especially on lenses, if you inspect before you pay:
- Inside the lens: shine a torch through it and look for fungus (web-like threads), haze or scratches. Fungus is common in gear stored in humid conditions and is hard to fix.
- Rings and controls: the zoom and focus rings should turn smoothly, and the aperture should work without sticking.
- Sharpness: photograph a flat, detailed target and check that both sides of the frame are similarly sharp. A big difference can mean a decentred lens.
- Shutter count: for cameras with a mechanical shutter, compare it with the rated shutter life if the manufacturer publishes one for that model.
- Sensor: photograph a clear sky or a white wall at a small aperture and look for fixed spots.
- Ports, battery and screen: test every port and compare battery life with what you would expect.
- Serial number and receipt: check that the number on the body matches the paperwork and that the gear is not stolen. Buy from a seller who allows testing or offers a return window.
Starter kits by type of work
These are general starting combinations to build on gradually:
- E-commerce products: almost any recent body, with a macro or standard lens, a tripod, a soft light source and a reflector. Light matters more than the camera here, and the workflow is in Product Photography for Online Stores on a Budget.
- Restaurants and cafés: a standard or macro lens, a tripod, and one light with a diffuser. See Food Photography for Restaurants and Cafés.
- Property: an ultra-wide lens, a tripod, a bubble level, and a camera that supports bracketing.
- Events and conferences: a body with reliable low-light autofocus and good high-ISO performance, dual card slots if possible, two f/2.8 zooms (wide and telephoto), and an external flash.
- Portraits and corporate headshots: an 85 mm lens or similar, one or two lights, and a neutral backdrop.
- Content creators shooting stills and video: check the video side: a microphone input, a flip-out screen, and how the camera copes with heat during long recordings, which matters in a Gulf summer.
Pre-purchase checklist
- Have you written down your main type of work and your lighting conditions?
- Have you chosen the system for the lenses you need, not the body alone?
- Have you compared field of view in full-frame equivalents?
- Have you split the budget across body, lens, lighting and accessories?
- Have you held the camera and found its menus and buttons comfortable?
- Have you confirmed warranty and servicing in your country?
- Have you inspected used gear using the steps above?
In the end a camera is a tool; what makes the picture is an understanding of exposure, light and composition, all brought together in our photography fundamentals guide.