Event and Conference Photography: From Planning to Fast Delivery
How to cover a conference, gala or product launch without missing a moment: planning with the organizer, shooting speakers and audiences discreetly in low light, and delivering ready-to-post images within hours.
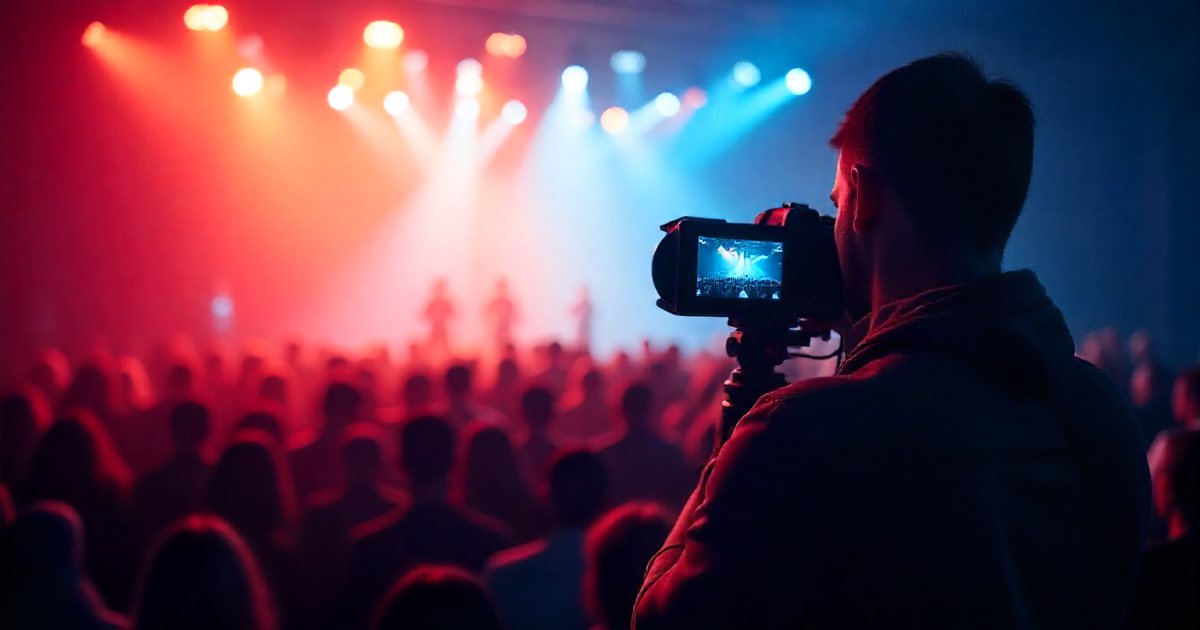
Event photography, and conference work in particular, offers no second takes. The opening speech happens once, and an award handover lasts a few seconds. Success depends more on planning with the organizer than on equipment. This guide shows how to build a shot list, capture speakers, audiences and key moments, handle low light without disturbing anyone, and deliver images fast for social media while keeping every file safely backed up.
Planning with the organizer
Meet the organizer a few days before the event and leave with written answers to these questions:
- Run of show: the exact timing of every segment, who presents it, and who to contact when the schedule changes, which it usually does.
- VIPs: names and titles written in both Arabic and English, photos of them if possible, and who needs to be photographed with whom.
- Sponsors: logos, booths and any photo obligations written into sponsorship contracts.
- Restrictions: Is flash banned during speeches? Are there areas you may not photograph, such as women's sections at some events? Are there guests who do not want to appear? When are prayer times and protocol segments?
- Deliverables: how many images and the deadline for each batch, written into the contract.
- Access: a badge that lets you work in front of the stage and in the media area, and somewhere secure to keep kit.
If you can, visit the venue beforehand. Note the lighting, the stage screen, the aisles, where awards will be handed over and a good spot for the group photo. Turn all of this into a written shot list the organizer signs off. For the technical basics, see Photography Fundamentals: The Complete Guide.
The core shot list
Most events need the same core shots, which you can order by the flow of the day:
- The venue before guests arrive: stage, room set-up, branding and details such as tables, décor and catering. Sponsors and organizers always want these, and they are easy to forget.
- Arrivals and registration: guests arriving and VIPs being welcomed.
- Opening: the welcome speech and formal segments such as the national anthem, which call for stillness and respect, not movement.
- Speakers and panels: varied shots of every speaker, the full panel and the moderator.
- Audience: a wide shot showing attendance, plus engagement and questions from the floor.
- Networking and coffee breaks: natural conversations and handshakes.
- Formal moments: award handovers, agreement signings and group photos.
- Exhibition and sponsors: booths and sponsor representatives with visitors.
Speakers on stage
Speakers are the people most likely to ask for their photos afterwards, often for their professional profiles. To give them good ones:
- Stand slightly off-center, not directly below the stage, where the angle shows mostly chin and nostrils.
- Take at least three frames of each speaker: a wide shot with the stage and screen or logo, a medium shot, and a tight shot of face and hands.
- Wait for an expressive gesture, with eyes open and mouth in a natural position, and use burst mode so you can choose the best frame.
- Watch the microphone so it does not cover the face, and change angle if it does.
- Expose for the face, not the bright LED screen behind the speaker, using spot metering or exposure compensation.
If the organizer wants posed portraits of speakers, set up a side corner with a simple backdrop and light, as described in Portrait and Corporate Headshot Photography.
Audience and engagement
Audience photos prove the event worked. Take a wide shot from the side of the stage showing a full room, with the organizer's permission, then tighter shots of engagement: laughter, note-taking, hands raised for questions. Avoid people eating, yawning or staring at phones, and choose angles that honestly reflect attendance without dwelling on empty seats.
Consent is part of the job. Ideally the registration form states that the event will be photographed, and the organizer provides a distinctive badge or lanyard for anyone who prefers not to appear. Always respect it, ask before close-ups of families and women, and make sure a guardian has consented before photographing minors. Image Rights and Licensing covers the general principles.
Working in low light
Conference halls and evening events are usually dim, and speakers move. The golden rule is that a sharp image with some noise beats a clean, blurred one.
| Situation | Shutter speed | Aperture | ISO |
|---|---|---|---|
| Fairly still speaker at a lectern | 1/125 to 1/200 s | f/2.8 or wider | As needed, often 1600 to 6400 |
| Applause, movement, award handovers | 1/250 s or faster | f/2.8 | As needed |
| Wide shot of the room | About 1/60 to 1/100 s | f/4 | As needed |
- Use constant f/2.8 zooms such as a 24-70 mm and a 70-200 mm, or primes at f/1.8 or wider. Choosing the Right Camera and Lenses explains the trade-offs.
- Use auto ISO with a minimum shutter speed so you can concentrate on composition.
- Remember that image stabilization corrects your hand shake, not the speaker's movement. The Exposure Triangle explains the balance.
- Shoot RAW so you can fix exposure and white balance later, because colored stage lights fool the camera.
- Bounce flash off a ceiling or wall during networking if it is allowed, and never fire direct flash during speeches or official ceremonies unless agreed in advance.
- With an electronic shutter, some LED lighting produces horizontal banding. Turn on anti-flicker if your camera has it, switch to the mechanical shutter, or change the shutter speed.
Being discreet
A good event photographer is barely noticed:
- Wear dark, formal clothes that suit the event.
- Use silent shutter mode during speeches.
- Do not walk across the front of the stage while someone is speaking. Move during applause and transitions.
- Crouch in the aisles so you do not block anyone's view, and use the long lens from the back and sides.
- Agree positions with the videographer so neither of you ends up in the other's shots.
- Follow protocol: stand still for the national anthem, respect prayer times, and keep an appropriate distance from senior guests.
Fast delivery for social media
Many organizers want to post photos while the event is still running. Illustrative example of a common agreement: 10 to 15 selected images within an hour of the opening, then the full edited gallery within two or three days. To make that work:
- Shoot RAW and JPEG together. The JPEGs are ready for quick posting.
- At the first break, copy a selection to a laptop with a card reader, or to a phone through the camera's app.
- Edit with ready-made presets (crop, exposure, straightening) and export at 1080 × 1350 px for feed posts, 1080 × 1920 px for stories, and a landscape version for the website and news use.
- Attach the names and titles from the organizer's list to every image and check the spelling carefully, especially for press use, as covered in Writing a Press Release Journalists Will Actually Use.
- Upload to a shared folder organized by session.
At large events, an on-site editor working on a laptop lets the photographer keep shooting. The full gallery then goes through the culling and editing steps in Photo Editing: A Professional Workflow.
Backups: there is no second event
The event will not happen again, and a failed card means losing the whole job. So:
- Use a camera with two card slots set to backup mode, which records every image to both cards.
- Carry two camera bodies if you can. It protects you against failure and saves time on lens changes.
- Carry spare batteries and cards, and keep used cards on your person, not in a bag left in the hall.
- At long events, copy images to a laptop and an external drive during breaks.
- After the event, apply the 3-2-1 rule: three copies, on two types of media, one of them in another location.
Practical checklist
- Before: meeting with the organizer, run of show, VIP list, approved shot list and a venue visit.
- Kit: two bodies, fast lenses, spare cards and batteries, a flash for bouncing, a card reader and a laptop.
- Settings: backup mode across both cards, RAW plus JPEG, auto ISO with a minimum shutter speed, silent shutter.
- During: venue shots before doors open, three frames per speaker, the audience, formal moments, and every no-photo badge respected.
- Delivery: a fast batch sized for social media with correct names, then the full gallery on the agreed date.