Real Estate and Architectural Photography: A Practical Guide
How to photograph apartments, villas, offices and buildings with straight lines, balanced light and an honest sense of space, from lens choice and verticals to twilight shots and drones.
Real estate photography, like architectural photography, exists to show a space clearly and accurately: how a room looks, how light enters it, and what you see from the window. The best image is not the widest or the most dramatic. It is the most honest, the straightest and the most evenly lit. This guide covers lens choice, vertical lines, bracketing and HDR, mixed interior lighting, twilight exteriors, and how to prepare a property before the photographer arrives.
What buyers and tenants look for
Buyers use photos to understand five things: layout and flow, the real size of the rooms, how much natural light there is, the quality of the finishes, and the view. Every frame should answer one of those questions. Start each job with a shot list by property type:
- Apartment: building entrance or facade, living room, kitchen, master bedroom, other bedrooms, bathrooms, balcony and view, and building amenities such as the pool, gym and parking.
- Villa: all of the above, plus the full facade, garden, majlis, roof and outdoor entrances.
- Office or shop: reception, workspaces, meeting rooms and the street frontage.
One or two strong images per room are worth more than ten near-duplicates that tire the viewer. For the underlying principles behind everything below, see Photography Fundamentals: The Complete Guide.
Wide lenses without heavy distortion
Interiors are tight, so you need a wide lens. The common range on full frame is 16 to 24 mm, roughly 10 to 16 mm on APS-C. Go much wider and stretching at the frame edges becomes obvious: chairs look elongated and the room looks bigger than it is. Visitors notice the moment they walk in, and lose trust in the whole listing.
Practical rules for wide lenses:
- Shoot from a corner or doorway to show two walls. This conveys depth and size.
- For symmetrical rooms such as bathrooms and straight kitchens, use one-point perspective, with the camera square to the far wall.
- Keep round tables and lamps away from the frame edges, where stretching is strongest.
- If the room does not fit, step back or cover it in two frames rather than reaching for a wider lens.
- Set camera height at roughly 1.2 to 1.5 meters in most rooms, and slightly above counter height in kitchens.
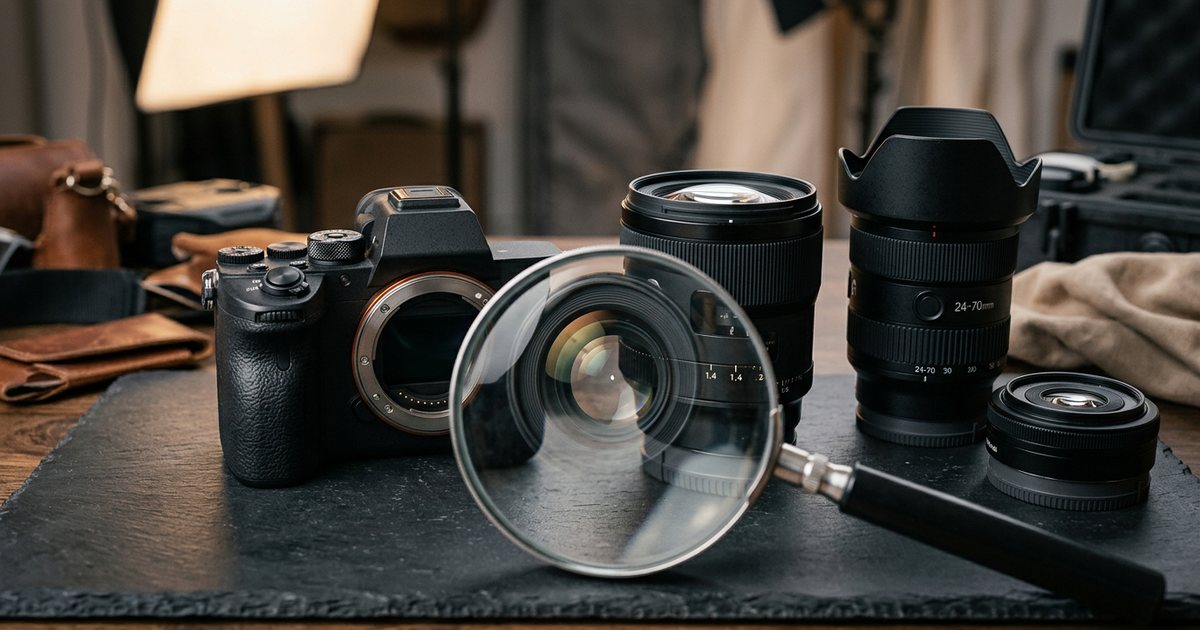
For professional architectural work, tilt-shift lenses let you include the top of a building without tilting the camera. Choosing the Right Camera and Lenses compares lens types in more detail.
Keeping verticals vertical
Tilt the camera up or down and vertical lines converge, so walls look as if they are falling and buildings lean backwards. It is the most obvious sign of amateur property photos. The fix:
- Put the camera on a tripod and use its electronic level or a small spirit level in the hot shoe.
- Keep the back of the camera perfectly vertical. To show more ceiling or floor, raise or lower the tripod instead of tilting.
- Correct any remaining tilt in your editing software with perspective tools, and leave some margin in the frame because the correction crops the edges.
For tall building exteriors, move further back, shoot from a raised position such as a floor in the building opposite, or use a shift lens.
Bracketing and HDR
The classic interior problem is that the brightness gap between the view outside the window and the room inside exceeds what the sensor can record in one frame. You get either a blown-out white window or a murky room. The solution is bracketing:
- Lock the camera on the tripod and switch to manual focus once focus is set.
- Fix the aperture between f/7.1 and f/11 for front-to-back sharpness, and keep ISO low, for example 100.
- Take 3 to 5 frames that differ only in shutter speed, 1 to 2 stops (EV) apart.
- Use the self-timer or a remote release to avoid shake.
- Merge them with your editor's HDR merge, or blend them by hand with layer masks in Photoshop for more control.
Avoid the overcooked look: halos around windows, white walls turned gray, and colors more saturated than reality. Aim for what the eye sees standing in the room. Many professionals also blend an ambient frame with a frame lit by flash bounced off the ceiling to get cleaner color. For a refresher on how aperture, shutter and ISO interact, read The Exposure Triangle.
Mixed interior lighting
A typical room mixes bluish daylight from the windows, warm orange bulbs and perhaps cool white LEDs, which leaves orange and blue patches on the same wall. You have four options:
| Option | When it suits | Watch out for |
|---|---|---|
| All lamps off, daylight only | Bright rooms with large windows | Bounced flash may be needed for dark corners |
| All lamps on, white balance set for them | Interior rooms without windows | Windows turn noticeably blue |
| Match the bulbs before the shoot | Properties being shot carefully for sale | Needs coordination with the owner |
| Local correction in editing | Unavoidable mixed situations | Time-consuming; needs masking skills |
What matters is that each room is internally consistent and that color temperature feels similar across the whole set. For more on color temperature and light sources, see Lighting in Photography.
Exteriors and twilight shots
By day, shoot when the sun falls on the facade: mornings for east-facing fronts, afternoons for west-facing ones. Avoid summer midday sun, which flattens facades and throws harsh shadows, and watch for dust and heat haze in a Gulf summer. Clean the lens often.
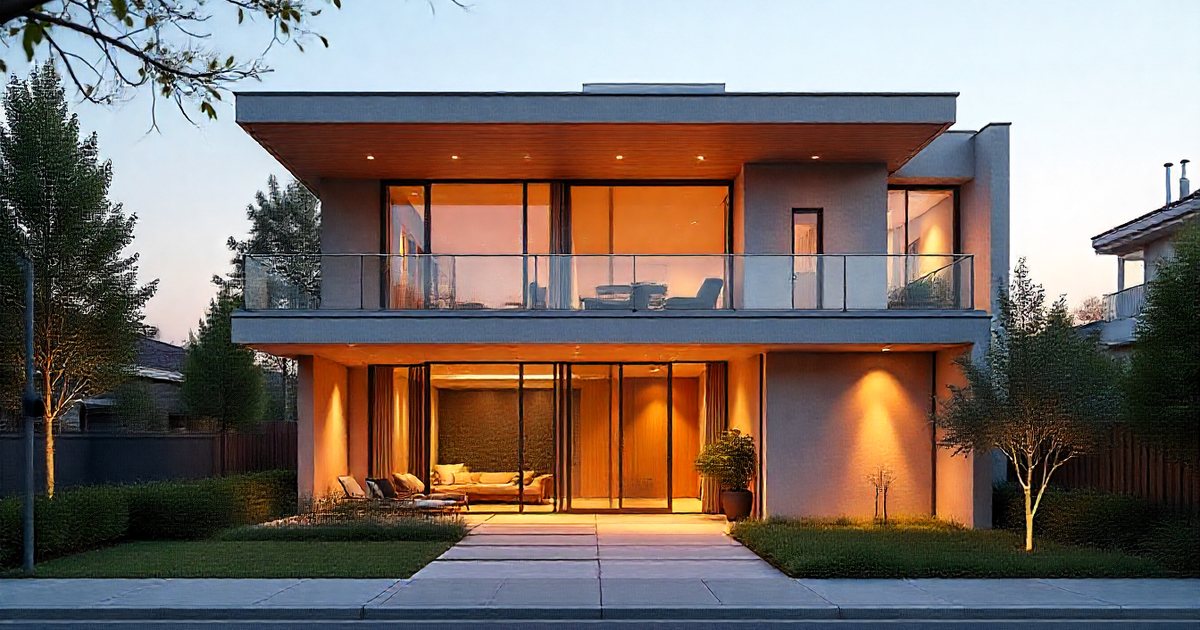
The twilight shot is one of the strongest images in property marketing: a deep blue sky with warm, glowing windows. To pull it off:
- Look up sunset time in advance and be in position before it, because the ideal window after sunset is relatively short in the region.
- Switch on every light inside and outside, including garden and pool lights, and open the curtains.
- Lock the camera on a tripod and shoot a series as the sky darkens, then pick the frame where sky and window light balance.
Honesty applies here too. Improving a gray sky is common practice, but do not remove permanent features such as power lines, a neighboring building or cracks in a wall. If you use virtual staging, say so in the listing.
Preparing the property
Half the quality of a property photo is decided before the photographer arrives. Send the owner or agent a clear preparation list a few days before:
- Clear surfaces, especially kitchen counters and bathrooms.
- Remove family photos and personal documents for privacy.
- Make sure every bulb works, and match their color where possible.
- Clean windows, mirrors and floors; clean and fill the pool.
- Make beds, arrange cushions and towels, close toilet lids, and hide bins and cables.
- Move cars out of the driveway, and keep pets and family members out of the rooms being shot.
- Open curtains evenly and set all blinds at the same angle.
While shooting, watch mirrors and glossy surfaces so your own reflection or the tripod does not appear.
Drones: high value, legal limits
A drone shows what a ground camera cannot: how close the property is to the sea or main roads, the size of the plot, and the amenities of the community. But drone use is restricted in most countries. In the Gulf states, Egypt and elsewhere, flying, and commercial flying in particular, generally requires registering the aircraft and obtaining permits from the civil aviation authority or other competent bodies, and some areas, such as zones near airports and government sites, are no-fly zones.
Check the current rules in your country before any flight, and hire a licensed operator if you are not licensed yourself. Respect neighbors' privacy: do not film into homes or capture people without permission. Image Rights and Licensing covers the principles for images of people and property.
Editing and delivery
Editing comes next: straightening verticals, matching white balance between rooms, merging brackets, and removing temporary blemishes such as a mark on the floor. Use one set of presets for the whole property, as described in Photo Editing: A Professional Workflow.
At delivery:
- Use a landscape 3:2 or 4:3 ratio, the most common on property portals, and check each portal's current size and minimum resolution requirements.
- Supply sRGB web versions, plus high-resolution files at 300 PPI at final size for printed brochures.
- Order the images as a real walkthrough: the facade or strongest shot first, then living areas, kitchen, bedrooms, bathrooms and amenities.
To strengthen the composition of each frame, including balance and leading lines, see Composition Rules in Photography.
Practical checklist
- Before the day: a shot list by property type, a preparation list sent to the owner, and timings worked out for facade light and twilight.
- Kit: a wide lens around 16 to 24 mm on full frame, a tripod, a level and a remote release.
- In every room: a level camera, consistent height, no round objects at the edges, and brackets wherever there are windows.
- Lighting: a clear decision about the lamps in each room, and consistent color across the set.
- Drone: a valid permit, a licensed operator, and respect for neighbors' privacy.
- Honesty: no exaggerated stretching, no removal of permanent features, and virtual staging disclosed.