Photography Fundamentals: The Complete Guide
A practical guide to the five skills behind every good photo (exposure, focus, light, composition and color), plus file formats, practice drills and building a portfolio.
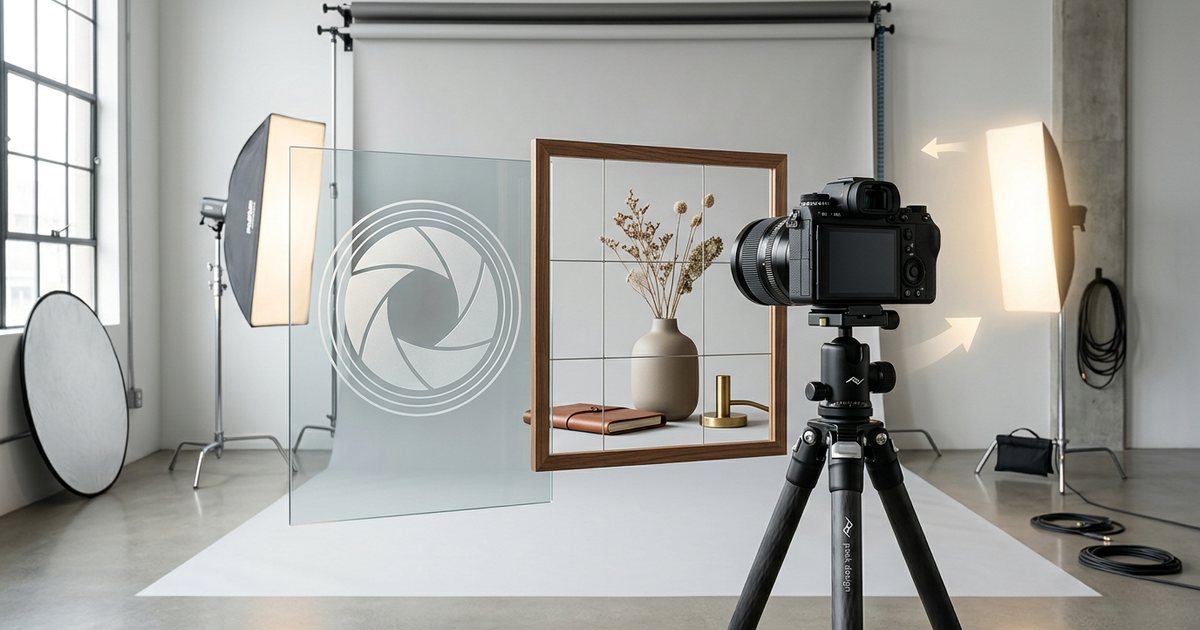
At heart, photography is the control of light: how much of it reaches the sensor, where it comes from, and how you arrange what it falls on inside the frame. The photography basics come down to five connected skills (exposure, focus, light, composition and color), plus knowing which file format to shoot and how to practice so you actually improve. This guide covers each skill well enough for you to start working with confidence, and points you to a dedicated article whenever a topic deserves more depth.
How a camera makes an image
Every camera, from a phone to a professional body, follows roughly the same chain:
- The lens gathers light from the scene and focuses it onto the sensor. Its focal length decides how much of the scene you see, and its focus setting decides which distance is sharp.
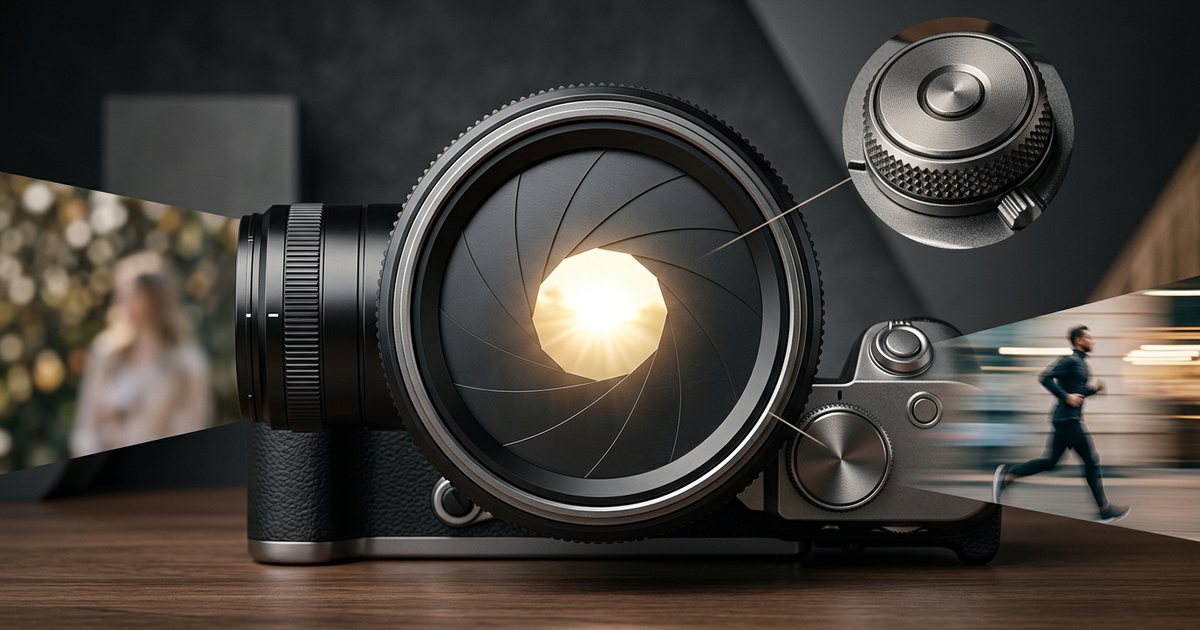
- The aperture is an adjustable opening inside the lens that controls how much light passes through at any moment.
- The shutter controls how long the sensor is exposed, from a tiny fraction of a second to several seconds or more.
- The sensor holds millions of light-sensitive photosites that turn light into an electrical signal. Photosites cannot see color on their own, so in most cameras a color filter array sits on top and each one records only red, green or blue.
- The processor combines those readings into full-color pixels, applies white balance, contrast, sharpening and noise reduction, then saves the file.
The key difference between a phone and a dedicated camera is that a phone has a small sensor and makes up for it with heavy computational processing, often merging several frames into one without telling you. A camera with a larger sensor gathers more light in a single exposure and leaves more of the result under your control. Knowing this chain helps you diagnose problems: a dark photo is a light-quantity problem, a smeared photo is a time problem, and strange color is usually a processing or white balance problem.
Exposure: getting the right amount of light
Exposure is the amount of light that reaches the sensor. Three settings control it, and together they are called the exposure triangle:
- Aperture: a wider opening (a smaller f-number such as f/1.8) lets in more light and gives a shallower depth of field, so the background blurs more.
- Shutter speed: a short time (such as 1/1000 s) freezes motion; a long time records motion as blur and may reveal your hands shaking.
- ISO: raising it brightens the image without changing aperture or shutter speed, but it adds visible noise and narrows the range the sensor can record between shadows and highlights.
Changes are measured in stops, and each stop doubles or halves the light. Close the aperture one stop and slow the shutter one stop and the brightness stays the same, but the picture changes: more depth of field, more risk of shake. That trade-off is the core decision in every shot, and we cover it in detail, with shooting modes and the histogram, in The Exposure Triangle: Aperture, Shutter Speed and ISO.
A practical starting rule: decide what matters most in the shot. If it is movement, such as a child running or a guest shaking hands at a gala, set the shutter speed first. If it is separating a person from the background or keeping a whole room sharp, set the aperture first. Raise ISO last, and only as far as you need.
Focus and sharpness
Unsharp photos are the most common beginner problem, and the causes are few and easy to tell apart:
- Missed focus: the camera focused on something else, such as the background instead of the face.
- Camera shake: the shutter was open longer than your hands can hold steady, so everything is equally soft.
- Subject motion: the background is sharp but the person is blurred.
- Depth of field too shallow: one eye sharp and the other soft, or the front of a product sharp and the back not.
- A dirty lens or a poor filter: overall haze and low contrast.
To diagnose, view the photo at 100% and look for the sharpest area. If nothing is sharp, it is probably shake. If something is sharp but in the wrong place, it is focus.
Autofocus modes
Most cameras offer two core modes. Single AF (AF-S, called One-Shot on Canon cameras) locks focus when you half-press the shutter and suits still subjects such as products and buildings. Continuous AF (AF-C, or AI Servo) keeps tracking a moving subject and suits events, sport and children. You also choose the focus area: a single point you move yourself when you need precision, or a wide zone with face and eye tracking when people are moving around. In portraits, the eye closest to the camera should be sharp.
For products on a tripod, manual focus with a magnified live view is often more precise than autofocus, because you decide exactly which part must be sharp, such as the logo on a bottle or the stitching on a bag.
Light: the raw material of every photo
A camera does not photograph things; it photographs the light reflected from them. The same product or face can look completely different under different light, and reading light comes down to three qualities:
- Quality: hard light comes from a small or distant source (midday sun, a bare bulb) and casts crisp-edged shadows; soft light comes from a large, close source (a big window, an overcast sky, a softbox) and its shadows fade gently.
- Direction: front light flattens features, side light reveals texture and shape, and backlight draws a bright outline around the subject.
- Color: every source has a color temperature measured in kelvin. Warm household bulbs lean orange; shade on a sunny day leans blue.
In Gulf cities in particular, midday sun is the biggest challenge, because it falls almost straight down and leaves deep shadows under the eyes. The practical fixes, such as open shade, shooting against the sun with a reflector and scheduling the session well, are covered in Lighting in Photography: Natural and Artificial, together with flash basics and one-light setups.
Composition: what you include and what you leave out
Composition is the arrangement of elements inside the frame so the viewer's eye knows where to go first. Beginners tend to center the subject and leave unrelated clutter around it. Three habits change results immediately:
- Pick one subject before you raise the camera, and ask what the viewer must see.
- Get closer or change position until distracting elements leave the frame.
- Check all four edges before pressing the shutter. Does the frame cut a hand or foot at an awkward point? Is a pole growing out of someone's head?
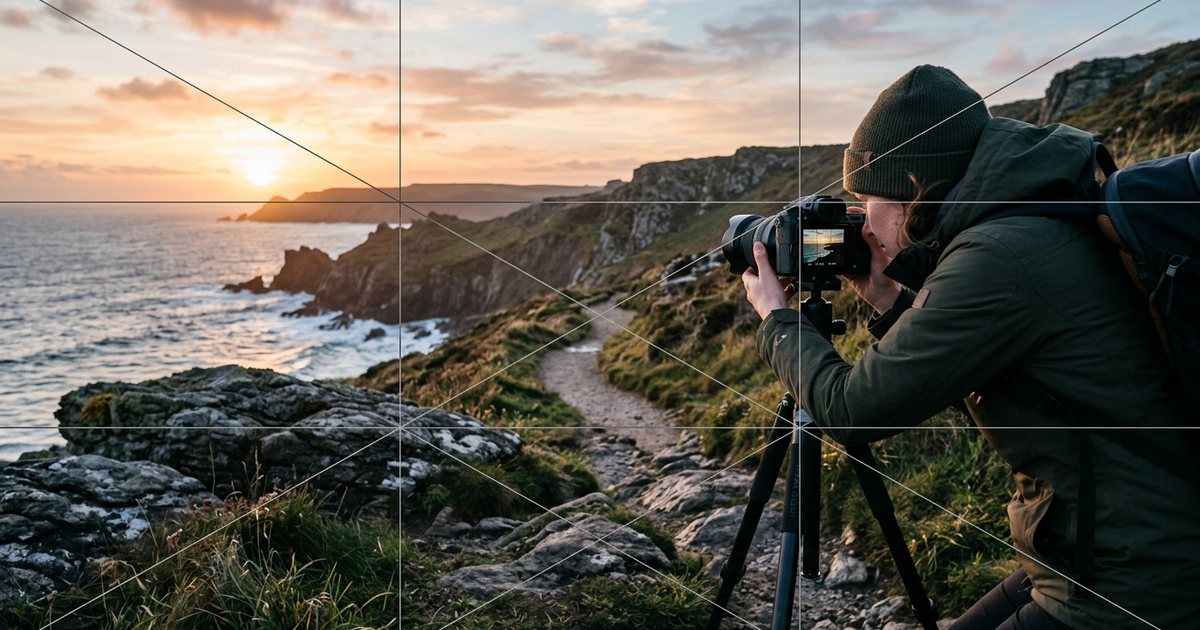
After that come the familiar tools: the rule of thirds, leading lines, framing, symmetry, negative space and changing your angle. Each one, and when to break it, is covered in Composition Rules in Photography.
Color and white balance
Your eyes adapt to the color of light automatically, so a white sheet of paper looks white under a warm bulb or in shade. A camera has to be told what color the light is, and that is the job of white balance. Auto white balance (AWB) works well in most outdoor situations but drifts indoors, or when one color dominates the scene, such as a large green wall or a red dish that fills the frame.
More precise options when color matters:
- Presets: daylight, cloudy, shade, tungsten, fluorescent. Match the main light source.
- Manual kelvin: set a specific value and keep it for the whole session so every frame matches.
- Custom white balance from a gray card: photograph a neutral gray card under the session light and tell the camera to use it as its reference. This is the right method for product work, because the color in the photo must match what the customer receives, or returns go up.
Consistency matters as much as accuracy. A store showing twenty products in ten different shades of white looks amateur even when each photo is fine on its own. For practical product setups with modest gear, see Product Photography for Online Stores on a Budget.
File formats: RAW or JPEG?
A JPEG is a finished picture: the camera has processed it, applied white balance, contrast and sharpening, then compressed it to save space. A RAW file is close to the data the sensor recorded and needs processing software before use. Many phones save photos as HEIF/HEIC, which gives JPEG-like quality at a smaller file size.
| Criterion | RAW | JPEG |
|---|---|---|
| File size | Large | Small |
| Changing white balance later | Almost lossless | Limited, with visible side effects |
| Recovering shadow and highlight detail | Wide latitude | Limited |
| Ready to use | Needs processing | Ready to share |
| Bit depth | Usually 12 or 14 bits | 8 bits |
Shoot RAW when light is difficult or mixed, or when you deliver commercial work that will be edited or printed. JPEG is fine when delivery must be very fast, such as event photos published within the hour, provided you nail exposure and white balance in camera. Most cameras can save both at once (RAW+JPEG), giving you a ready copy and a flexible one. The steps from import to export are in Photo Editing: A Professional Workflow.
Camera or phone?
A modern phone is a real photographic tool. It is enough for social media content and simple product shots if you use it well: a clean lens, locked focus and exposure, good light, and no digital zoom. The details are in Professional Smartphone Photography.
You need an interchangeable-lens camera when the job asks for something a phone struggles with: low light combined with movement, as at conferences; a long telephoto lens; genuinely shallow depth of field; large files for print; or control over external flash. When buying, start from the kind of work, not the brand name, and invest in lenses before bodies. The full decision is laid out in Choosing the Right Camera and Lenses.
From fundamentals to specialisms
The fundamentals are the same everywhere, but each commercial field applies them in its own way and has its own recurring mistakes:
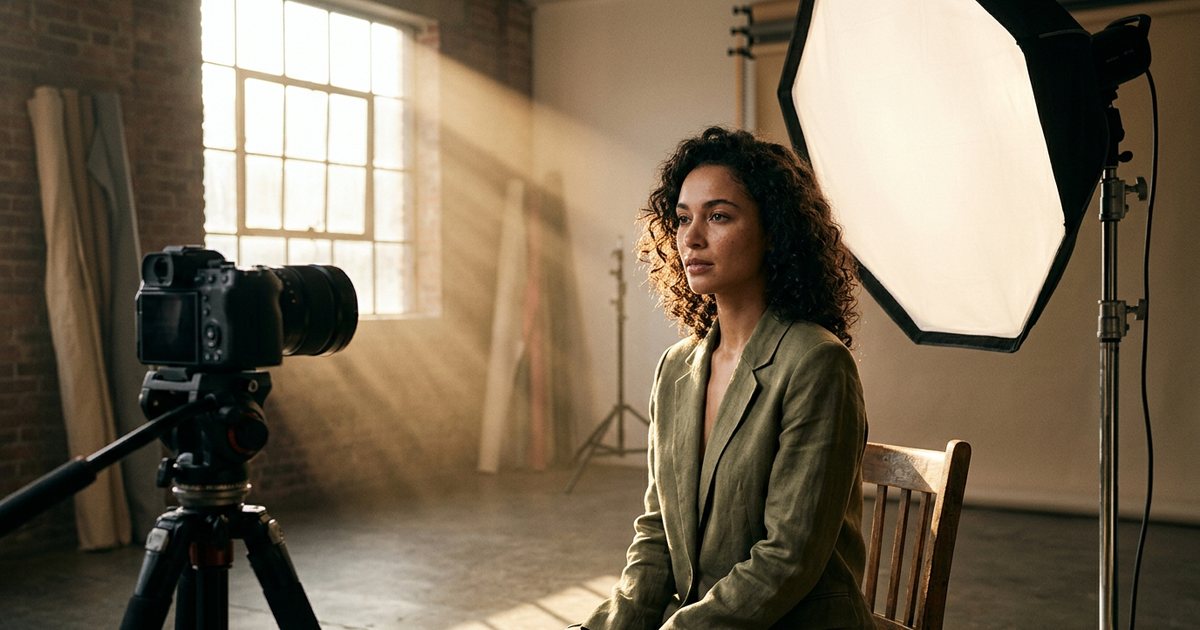
- Portraits and corporate headshots: lighting faces, directing people who are not used to the camera, and keeping a team's photos consistent. See Portrait and Corporate Headshot Photography.
- Food: the right angle for each dish, side-back light, and styling before you shoot. See Food Photography for Restaurants and Cafés.
- Real estate and architecture: wide lenses, straight verticals, and balancing interior light with bright windows. See Real Estate and Architectural Photography.
- Events and conferences: hall lighting, moments that never repeat, and fast delivery. See Event and Conference Photography.
Before publishing any commercial image, make sure you have the right to use it and the consent of the people in it, which is covered in Image Rights and Licensing.
Deliberate practice: how you actually get better
Taking more photos does not make you a photographer on its own; practice with a goal and a review does. These exercises build skill quickly:
- One lens for a week: use a single focal length, such as 35 mm, 50 mm or your phone's main lens, and learn to move your feet instead of zooming.
- One subject, twenty ways: photograph a coffee cup or a single product from twenty angles, distances and lighting setups, then compare.
- Light study: shoot the same spot at three times of day (after sunrise, midday, before sunset) and note how shadows and color change.
- Aperture priority, then manual: spend a week in A/Av mode to understand aperture, then move to manual (M) in a situation with steady light.
- Read your metadata: open the EXIF data of your best and worst shots and compare the settings. Your mistakes will turn out to follow patterns you can fix.
- Recreate a photo you admire: pick an advertising or editorial image, work out the direction and quality of the light and the camera angle, then reproduce it. This is for learning, not for publishing.
Ask for specific critique rather than general praise. Instead of "What do you think?", ask "Is the light on the face balanced? Is the background distracting?"
Building a portfolio that brings in work
A portfolio is not an archive of everything you have shot; it is a curated display of the work you want clients to hire you for.
- Edit ruthlessly: a small set of strong images beats a hundred uneven ones. One weak photo drags down the whole set.
- Organize by specialism: a restaurant manager is looking for food photos and will not scroll past wedding shots to find them.
- Show consistency: clients want to know the quality will repeat on their project, so show series from a single job, not only standalone hits.
- Add short context: one line on the brief and the result, for example "Menu photography for a café in Kuwait, 40 dishes over two shoot days."
- Respect rights: do not show a client's work before agreeing it with them, and get written consent from people who appear in the images.
- Make it bilingual: in the Gulf and Egypt, a portfolio in Arabic and English reaches more clients. Keep a lightweight PDF version to send on WhatsApp, because many enquiries start in a chat.
- Keep it current: replace older work whenever you produce something better.
Pre-shoot checklist
- Batteries charged; memory cards empty and formatted in the camera itself.
- Lens and sensor clean.
- File format (RAW or JPEG) and white balance set for the job.
- Focus mode matched to the subject: single for still, continuous for moving.
- You know the deliverables: number of images, dimensions, orientation (horizontal or vertical) and deadline.
- You have visited the location or seen photos of it, and you know where the light comes from at the session time.
- You have consent from the people you will photograph, and you know where the images will be published.
- After the shoot: copy the files to at least two places before formatting the card.