Portrait and Corporate Headshot Photography: A Practical Guide
A practical guide to consistent, professional team portraits: lenses, lighting, backgrounds, directing nervous employees, consent, and the right sizes for LinkedIn, web and print.
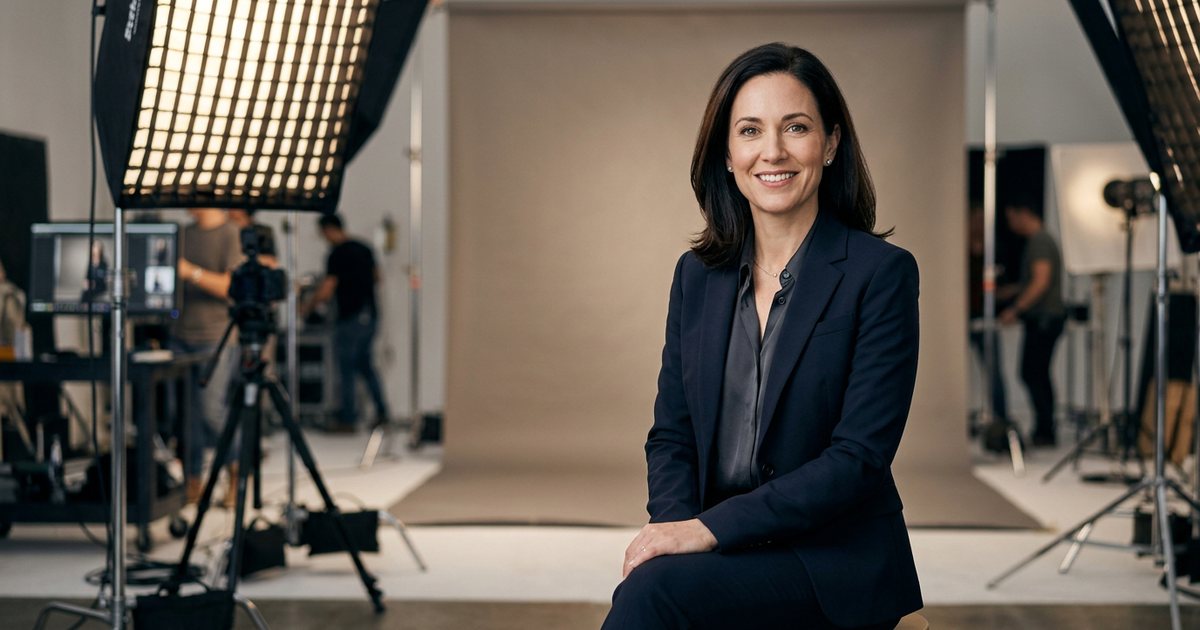
Corporate headshot photography means producing clear, consistent portraits of a team for the About page, LinkedIn profiles, pitch decks and print. A good headshot does not need a large studio. It needs a suitable focal length, soft and deliberate light, a quiet background, and the ability to put someone who dislikes cameras at ease. This guide covers each of those, then shows how to keep a whole team's photos matching and how to deliver them at the right sizes.
What makes a headshot look professional
A corporate headshot is not an art portrait. Its job is to introduce a person and build trust, not to show off the photographer's style. It is usually a head-and-shoulders or half-length frame on a simple background. An environmental portrait, by contrast, shows the person where they work: a doctor in a clinic, an engineer on site. It suits feature stories and brand content.
Strong headshots share qualities you can check on the camera screen:
- The eyes are critically sharp, with focus on the eye nearest the camera.
- The expression is relaxed and natural, neither frozen nor forced.
- The light is soft and shapes the face without hard shadows under the eyes.
- The background supports the face instead of competing with it.
- Crop, camera height and color match across the team.
If exposure and focus are still new to you, start with Photography Fundamentals: The Complete Guide and come back.
Focal lengths that flatter
Facial proportions depend mainly on camera-to-subject distance. Get close with a wide lens and the nose grows, the ears shrink and the face looks wider than it is. A longer lens lets you stand two to three meters away and still fill the frame, which renders the face the way we see it in normal conversation.
| Focal length (full frame) | Best use | Note |
|---|---|---|
| 35 mm | Environmental portraits showing the space | Do not move in close to the face |
| 50 mm | Half-length and office shots | Works in tight rooms |
| 85 mm | Classic head-and-shoulders | The most common headshot choice |
| 105 to 135 mm | Tight crops, softer backgrounds | Needs a longer room |
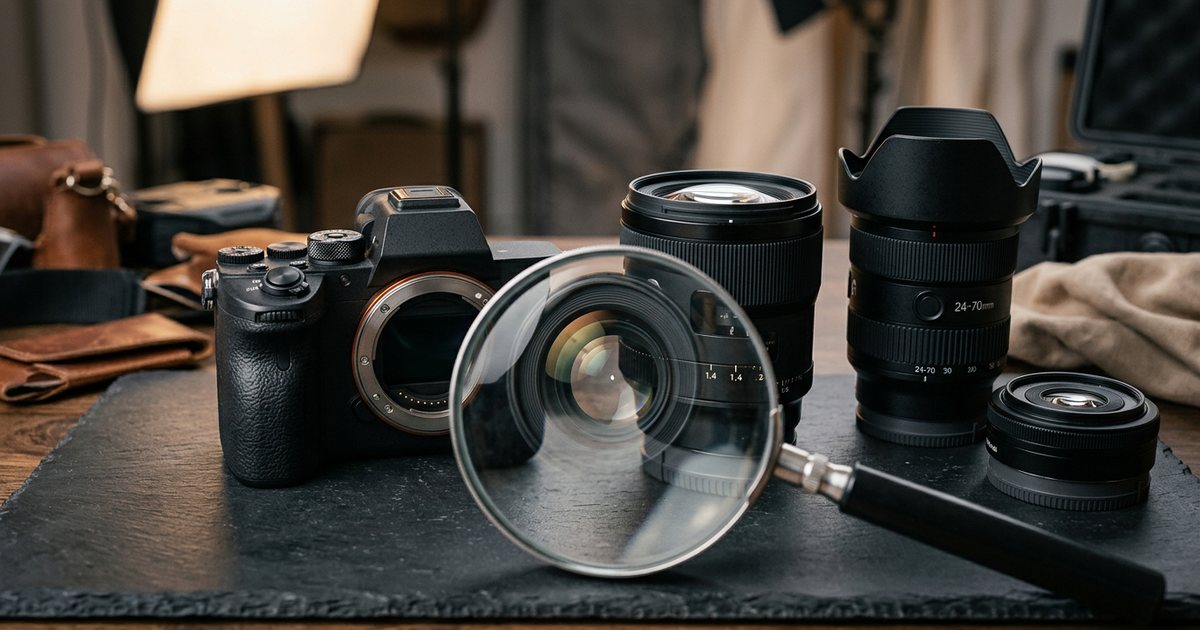
On APS-C cameras, multiply by roughly 1.5 to get the full-frame equivalent, so a 56 mm lens behaves much like an 85 mm. On a phone, switch to the 2x or 3x telephoto camera and step back rather than moving in with the main wide lens. For lens trade-offs, see Choosing the Right Camera and Lenses.
A safe starting point for a single headshot is f/2.8 to f/4: enough to soften the background while keeping both eyes and the nose sharp. Very wide apertures such as f/1.4 at close range can leave one eye sharp and the ear blurred. For groups, use f/5.6 to f/8. Keep the shutter at 1/125 s or faster handheld and ISO as low as the light allows. The Exposure Triangle explains how these settings trade off against each other.
Lighting: three setups cover most companies
A large light source close to the subject gives soft light that is kind to skin; a small or distant source gives hard shadows. That is why a big window or a softbox works so well for headshots. For more on light quality and direction, read Lighting in Photography.
Window light and a reflector
Seat the person near a window with no direct sun, face angled about 45 degrees toward it. Put a white reflector or foam board on the shadow side. Turn off the ceiling lights, or cool daylight and warm bulbs will paint the skin in two colors.
Key light at 45 degrees
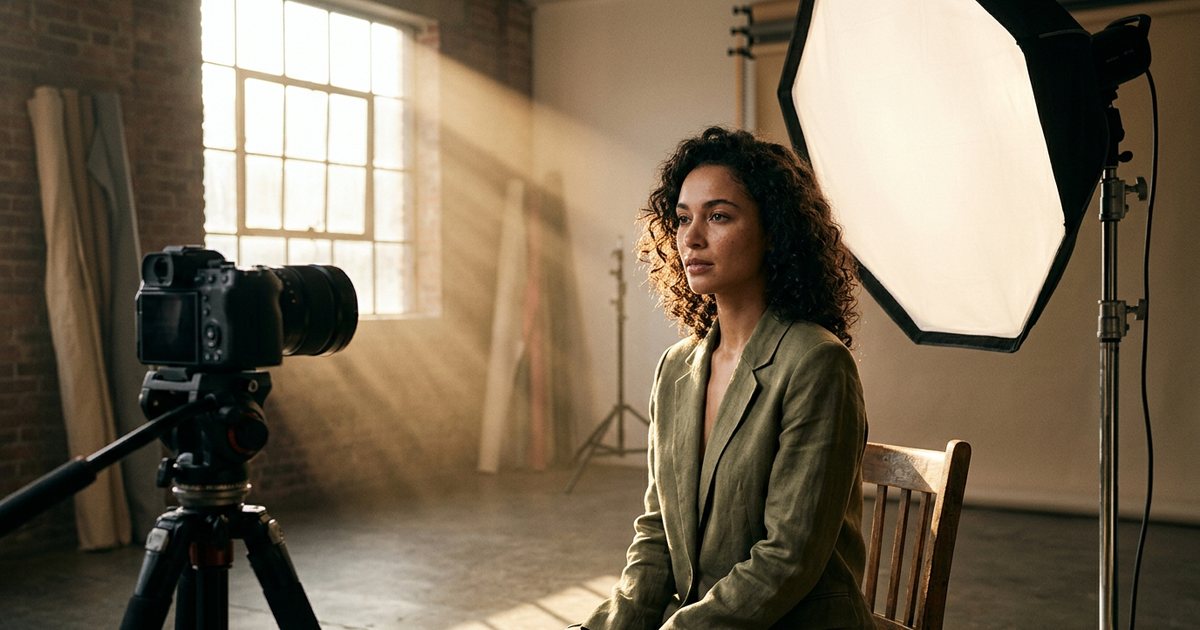
Place a softbox about 45 degrees to one side and slightly above eye level, so the nose shadow falls down and slightly across the cheek. This gives shape and depth and suits a more serious look. Fill the shadows with a reflector or a second light at lower power.
Clamshell for a clean commercial look
In clamshell lighting, the key light sits in front of and above the subject, with a reflector just below the chin. The result is even, low-shadow light that flatters most faces and is easy to repeat for a large team. For people wearing glasses, raise the light or move it slightly to the side, and ask them to tilt the frames down a touch to kill the reflection.
Choosing the background
The background is part of the brand, so agree on it with whoever owns the brand before the shoot, and check the brand guidelines if they exist. The common options are:
- Seamless paper in white, light gray or dark gray: clean, consistent and easy to reproduce in any branch.
- The office itself, blurred: feels alive, but you need a fixed spot you can return to for new hires.
- A wall in a brand color: distinctive, but test it on skin first, because saturated colors reflect onto the face.
Leave 1.5 to 2 meters between person and background. It keeps their shadow off the backdrop and softens it. A pure white background needs its own light or it records as gray. Watch for plants or columns growing out of heads, half-visible logos and bright windows behind the subject.
Directing people who are not models
Most employees are not models and many are nervous in front of a lens, so directing matters as much as lighting. These steps work with most people:
- Send clothing guidance days ahead: solid colors, no fine stripes or small checks (they cause moiré), and a spare top. In the Gulf, ask for traditional dress such as a kandura, ghutra or abaya to be pressed and neat.
- Start with small talk unrelated to the photo and shoot test frames while you chat.
- Turn the body 30 to 45 degrees away from the camera, then bring the face back to the lens. This slims the shoulders and adds energy.
- Ask them to push the chin slightly forward and then down. It defines the jawline and hides a double chin.
- Never just say "smile". Ask a question, or ask them to look down, then back at you while breathing out. A natural expression usually follows.
- Show them a good frame on the back of the camera early. Confidence improves as soon as they see a result they like.
- Take plenty of frames per person with small variations, and check for blinks before they leave.
Give specific, positive directions such as "turn your left shoulder toward me a little" rather than "don't stand like that". If someone needs to change pose, demonstrate it yourself so they can mirror you.
Consistency across a whole team
The worst team pages look as if every photo came from a different shoot. Treat the session as a repeatable system and keep a setup sheet that records:
- The same focal length and distance, with tape marks on the floor for subject and camera.
- Camera height at or slightly above eye level, adjusted to each person rather than moving the person.
- Light positions and power, plus an overhead photo of the setup.
- Manual exposure settings and a custom white balance taken from a gray card.
- A fixed crop template: eye line at the same height and head size roughly equal in every frame.
- One shared edit preset, as described in Photo Editing: A Professional Workflow.
Illustrative example: a company with offices in Dubai and Cairo wants matching headshots. Send both photographers the same setup sheet and the same paper color, edit both sets with the same preset, and the results will look like a single session. Keep the sheet for new hires months later.
Cultural sensitivity and consent
A headshot is personal data and deserves respect, especially in the Gulf and Egypt, where comfort with being photographed varies widely from person to person.
- Provide a private corner and a mirror for arranging a hijab or ghutra, and allow time for it.
- Offer a female photographer or assistant when female staff ask for one.
- Do not touch anyone to fix a collar or hair. Ask them to do it, or ask permission first.
- Respect anyone who does not want their photo published, and offer alternatives such as a name-only listing or a consistent illustrated avatar for the whole team.
- Agree on retouching limits upfront: removing temporary blemishes and stray hairs is fine; changing facial features, body shape or skin tone is not.
Get written consent that states where the photo will be used (website, LinkedIn, print, advertising), for how long, and what happens when the employee leaves. Image Rights and Licensing covers releases and permissions in more detail.
Delivery sizes for LinkedIn, the website and print
Deliver a high-resolution master with a slightly loose crop, plus ready-made versions for each use. The loose crop gives designers room to adjust later.
| Use | Ratio | Suggested size | Notes |
|---|---|---|---|
| LinkedIn profile photo | 1:1 | 1080 × 1080 px | Center the face, as it displays in a circle; confirm current platform guidance |
| Website team page | Per design, often 4:5 or 1:1 | 800 to 1200 px wide | sRGB color, web compression |
| Presentations | 1:1 or 4:5 | 1200 px on the long edge | Background that suits the slide template |
| Per design | 300 PPI at final size | A 10 × 15 cm print needs about 1181 × 1772 px |
For print, supply a TIFF or maximum-quality JPEG, ask the printer which color profile they need, and see Preparing Print Files. Name files clearly in Latin characters, such as Sara-Ahmed_web.jpg and Sara-Ahmed_print.tif, so versions never get mixed up.
Practical checklist
- Before the shoot: agree background, lighting and crop with the brand owner, send clothing guidance, and book slots of roughly 10 minutes per person.
- Setup: test on a colleague, fill in the setup sheet and tape the floor marks.
- During: focus on the nearest eye, keep talking and show an early good frame.
- After: pick the best two frames per person, edit all of them with the same preset, and show each person their photo before publishing where possible.
- Delivery: master, web, square LinkedIn and print versions, with signed consent on file.