Video Editing: The Complete Beginner's Guide
A practical beginner's guide to what editing really does, the technical basics to learn first, the professional workflow step by step, and a four-week practice plan.
Video editing turns hours of scattered footage into a video that viewers understand and respond to: you choose the best shots, put them in order, set the rhythm, then add color, sound and text before exporting the final file. This guide covers video editing for beginners from the ground up: what an editor actually does, the technical concepts to learn before you open any software, the professional workflow step by step, and a practice path to your first video worth showing. Each stage links to a detailed article when you are ready to go deeper.
What editing actually does
Beginners often assume editing means flashy effects and transitions. In practice, most of an editor's work is invisible: a long chain of small decisions that make a video feel natural and effortless. Those decisions fall into four jobs:
- Selection: out of ten takes of one line you pick the one with the clearest delivery and cleanest audio; out of twenty product shots you keep the three that explain it. Usually only a small share of what was filmed reaches the final cut, and that does not mean the shoot went badly.
- Order: sequence creates logic. A tense face followed by a clock showing a late hour tells the viewer the person is worried about being late, without a word of dialogue.
- Rhythm: shot length and cut placement control how fast the video feels. Short, rapid shots build energy; longer shots give viewers time to absorb and reflect.
- Meaning: selection, order and rhythm together create the message. The same footage can become an energetic ad or a calm documentary, and the difference is entirely in the edit.
You can think of editing as the final rewrite of a video, because the script genuinely changes on the timeline. For how pacing and scene structure serve a story, read Storytelling in Editing: Pace and Structure.
Core concepts before you open the software
Every editing application, whatever its interface, is built on the same ideas. Learn them once and you can move between programs easily, and you will recognize many problems before you run into them.
The timeline and tracks
The timeline is where you build the video. In common editors it runs horizontally through time, and clips sit on it in sequence. It is made of stacked tracks: video tracks and audio tracks. On video tracks the higher layer covers whatever is below, which is why titles and logos sit above the footage. Audio tracks all play together, so professionals give each type of sound a fixed home: dialogue on the first tracks, then sound effects, then music. That simple habit saves a lot of time when you mix.
Frame rate
Video is a series of still images shown quickly, and the number of images per second is the frame rate (fps). Common values: 24 for a cinematic feel; 25 in countries whose power grid runs at 50 Hz, such as the UAE, Kuwait and Egypt; 30 in 60 Hz countries such as Saudi Arabia; and 50 or 60 for fast action or footage you plan to slow down. The link to mains frequency is practical, not academic: a frame rate out of step with artificial lighting can show visible flicker.
The working rule: set the project frame rate at the start to match your main footage, and don't mix rates without a reason. A 30 fps clip dropped into a 25 fps project shows slight stutter in motion. On the other hand, footage shot at 50 fps can play at 50% speed in a 25 fps project for smooth slow motion.
Resolution and aspect ratio
Resolution is the number of pixels in the frame. 1920×1080 (Full HD) is still the everyday delivery standard, while 3840×2160 (UHD, usually marketed as 4K) gives you room to reframe and punch in during the edit without obvious quality loss when you deliver in 1080. Aspect ratio is the shape of the frame, and the destination platform decides it:
| Ratio | Common size | Typical use |
|---|---|---|
| 16:9 | 1920×1080 | YouTube, websites, screens and presentations |
| 9:16 | 1080×1920 | Reels, TikTok, Shorts and Stories |
| 1:1 | 1080×1080 | Square feed posts |
| 4:5 | 1080×1350 | Portrait posts in the Instagram feed |
Decide the ratio before the shoot, not after: turning a horizontal video into a vertical one means cropping away more than half the frame. Platforms adjust their recommended sizes from time to time, so confirm them in each platform's current help pages.
Codecs and proxies
Cameras and phones usually record in heavily compressed codecs such as H.264 or H.265 (HEVC) to save space, and that compression makes timeline playback sluggish on mid-range computers. The usual fix is proxies: lightweight, lower-resolution copies you edit with smoothly, while the software switches back to the original files at export. Some teams transcode footage to editing codecs such as ProRes or DNxHR, which produce larger files but are far easier on the processor. Final delivery formats and bitrates are covered in Video Export Settings: Formats, Resolution and Bitrate.
The editing workflow, step by step
Professional editors don't start by cutting. They move through stages, each with a single job. Keeping to this order stops you grading a shot you will later delete, or mixing audio for a scene whose length is about to change.
1. Ingest and backup
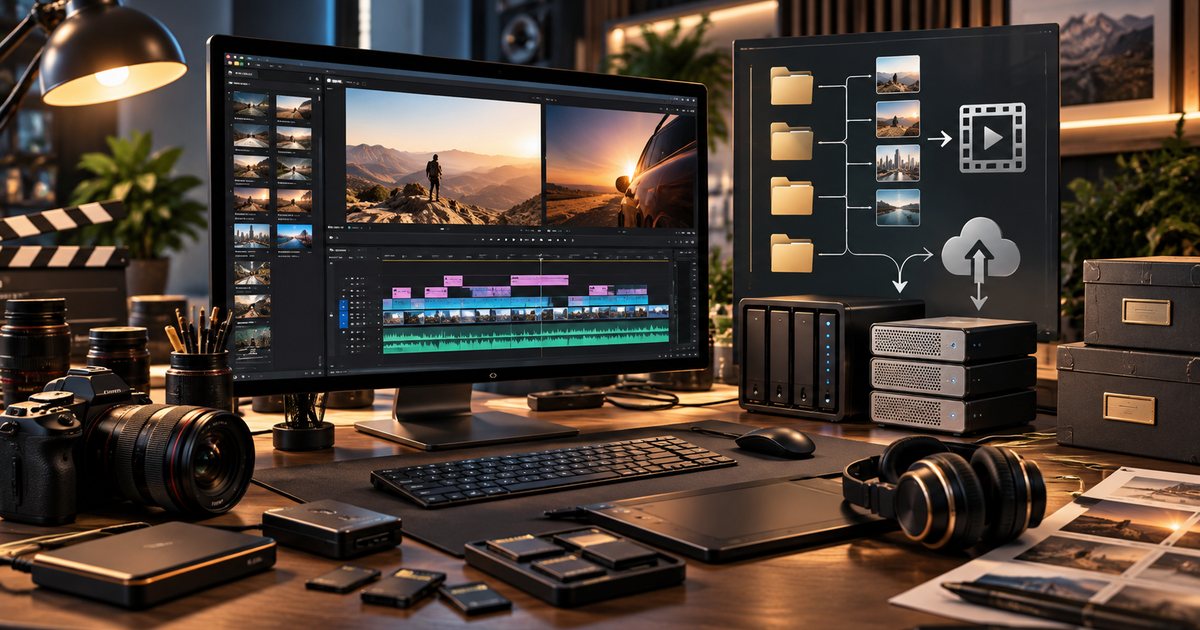
Copy entire memory cards to your drive, and never trim or rename files on the card itself. Confirm the copy is complete by comparing file counts and sizes, or use copy software that verifies files with checksums, then make a second backup on a separate drive before any card is formatted. A widely used rule is 3-2-1: three copies of the footage, on two different types of storage, with one kept in another location.
2. Organize
Use the same folder structure for every project: footage, audio, music, graphics, project files and exports. Inside the software, sort clips into bins by scene, shoot day or camera, and mark the best moments during your first viewing. An hour of organizing at the start saves many hours of searching later. The full method is in Organizing an Editing Project and Its Files.
3. Assembly
Watch all the footage, then lay everything usable on the timeline in the rough order of the script or story. The result will be long and dull, and that is the point: you see the material in context and discover what is missing before the fine decisions begin.
4. Rough cut
Now you build the structure: remove repetition, choose the best takes and rearrange until the message works from beginning to end. Don't worry yet about color, final music or frame-accurate cuts. For interview-led videos such as customer testimonials, start with the audio alone: arrange the sentences that tell the story, then cover the cuts with supporting footage (B-roll).
5. Fine cut and picture lock
Here you trim every cut to the frame, choose the right kind of cut for each moment and tighten the pace until nothing drags. Match cuts, J-cuts, L-cuts and the rest are explained in Cuts and Transitions in Video Editing. When you finish, you declare picture lock: no more timing changes, because color, sound and graphics are all built on that exact timing.
6. Color correction and grading
Correction comes first: fixing exposure and white balance so shots look natural and match each other. Grading then gives the video a deliberate look. A skin tone that shifts between two camera angles distracts viewers even when they can't say why. Scopes and the full process are covered in Color Correction and Color Grading.
7. Sound
Viewers tolerate average pictures, but they leave when the audio is harsh or hard to follow. At this stage you clean up the dialogue, even out its levels, place music underneath so it never competes, and add sound effects. Practical levels, loudness targets and music licensing are in Audio in Video: Dialogue, Music and Effects.
8. Graphics, titles and subtitles
Add titles, speaker name captions (lower thirds), the logo and subtitles. Audiences in the Gulf and Egypt often need Arabic and English text together, which brings right-to-left rendering issues and the challenge of choosing an Arabic typeface that stays legible on small screens. Read Subtitles and On-Screen Text before you start typing subtitles by hand. More complex animated elements belong to animation and motion graphics.
9. Export and review
Export a review copy and watch it end to end on the device your audience will use, which usually means a phone. If you send drafts to clients over WhatsApp, remember that the app compresses video, so what they see is not the real file. When quality is part of the approval, share a download link or send the file as a document. Ask for feedback with timecodes, such as "0:42, the name is misspelled", so revision rounds don't turn into guesswork.
Shortcuts and habits that speed you up
- J, K and L: in most editors L plays forward, J plays backward and K stops, and pressing L or J repeatedly increases the speed. This habit alone cuts footage review time considerably.
- I and O: mark the In and Out points of the part of a clip you want before placing it on the timeline.
- Cut on action: cutting between two shots in the middle of a movement, such as a hand opening a door, hides the edit and makes it feel natural.
- Numbered versions: "ramadan_ad_v03" beats "final_final_2", because numbering lets you return to any stage with confidence.
- Rest before reviewing: after hours on a timeline your eyes get used to mistakes, and a fresh viewing catches what you missed.
Priorities change with the type of video
The principles stay the same, but what deserves the most attention shifts with the content:
| Video type | Editing priority | Common mistake |
|---|---|---|
| Short ad | One clear message and a call to action | Cramming every product feature into 30 seconds |
| Short social video | A strong opening in the first seconds and on-screen text | A slow intro that starts with the logo |
| Interview or testimonial | Clear audio and the most genuine sentences | Keeping the hesitations and repetition |
| Event coverage | Selected moments cut to the music | Showing every word said on stage |
| Tutorial | Clear steps and close-ups on detail | A fast pace that confuses the learner |
Two of the most requested formats have their own detailed guides: Editing Short-Form Video: Reels, TikTok and Shorts and Producing a Video Ad from Idea to Publication.
Common beginner mistakes and how to avoid them
- Transitions everywhere: the straight cut is the default in most professional work. Use transitions when they carry meaning, such as showing that time has passed.
- Effects before story: if the message isn't clear in the rough cut, effects won't rescue it.
- Running too long: ask of every shot what the viewer would lose if you removed it. If the answer is nothing, remove it.
- Music louder than speech: one of the quickest ways to irritate viewers. Speech always comes first.
- Skipping backups: one failed drive can mean a full reshoot, or losing an event that will never happen again.
- Reviewing only on a computer monitor: text that reads well on a large screen can become tiny on a phone.
- Trying to fix everything in the edit: many problems are easier to solve on set, such as shooting enough supporting footage and recording clean sound. Read Shooting for the Edit: Footage That Makes Editing Easier and share it with your camera crew.
A practice path for beginners
You don't need the most expensive software or the most powerful computer to start. Pick one program that runs on your machine and stick with it until the basics are second nature; the skills transfer between programs easily. Selection criteria and the differences between common editors are in Video Editing Software: A Practical Comparison. Then work through this progression:
- Week one: learn the interface and the playback and cutting shortcuts. Edit a one-minute video from phone footage of a place you know, using only straight cuts and music.
- Week two: film a ten-minute interview with a friend and cut it down to 90 seconds that tell one idea. This exercise teaches selection better than any other.
- Week three: cover the interview cuts with B-roll, try J-cuts and L-cuts, and add the speaker's name and subtitles in a second language.
- Week four: focus on sound and color. Clean the dialogue, lay music quietly underneath, and make the shots match in color.
- After that: re-edit an ad you admire using similar footage you shoot yourself, and compare your version with the original for pace and shot length. Then turn the same piece into a 30-second vertical version.
Keep every exercise in a simple portfolio. An employer or client in Dubai, Kuwait or Cairo cares more about what you can deliver than about which program you use, and three polished short videos make a stronger portfolio than ten average ones.
Checklist before you deliver any video
- Is the core message clear without extra explanation, and for social media, does it also work with the sound off?
- Do the first seconds grab attention and tell viewers what they are about to see?
- Does every shot have a reason to be there?
- Is the speech clear and consistent in level, with the music sitting below it?
- Are color and skin tones consistent from shot to shot?
- Is all text and subtitling free of typos, legible on a phone screen and clear of the frame edges?
- Are the names, figures and prices on screen correct and approved by the client?
- Do you hold a license for every piece of music, image and stock clip used?
- Is the export in the right aspect ratio and resolution for the target platform?
- Have you watched the final version all the way through on a phone before sending it?