Storyboarding: Planning Scenes Before You Animate
A practical method for turning a script into drawn panels your team and client understand, so problems surface while they are still cheap to fix.
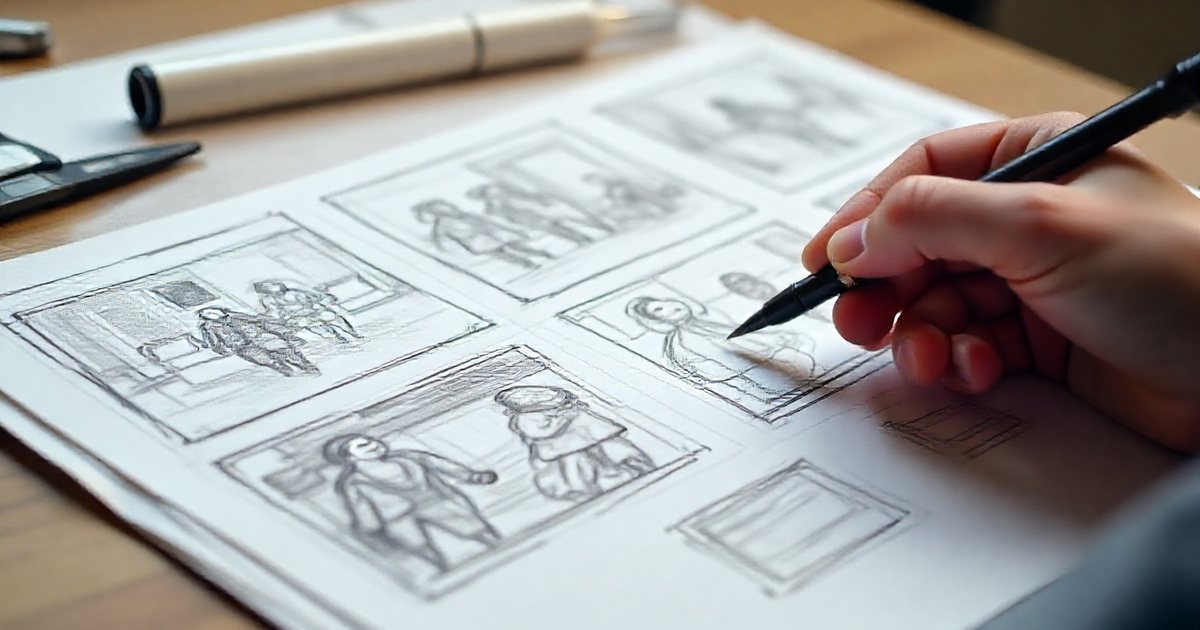
A storyboard is a sequence of drawings that shows each scene of a video in order, with notes under every drawing about motion, sound and duration. Storyboarding is the stage where a written script becomes pictures, and where most problems surface while fixing them costs a few pencil lines rather than days of re-animation. You don't need to be a great artist to do it: clarity matters far more than beauty. This guide walks through the method step by step, from thumbnails to the animatic, style frames and client sign-off.
Why you shouldn't animate without a storyboard
A storyboard can feel like an extra step for a 30-second video, but it saves more time than it takes, for five reasons:
- A shared vision: the client pictures the script one way and the designer another; drawings put the same video in everyone's head.
- Accurate effort estimates: the number of panels and their complexity reveal the real workload, so the schedule becomes realistic. This is a core part of the motion graphics production process.
- Testing the idea: scenes overloaded with text, scenes carrying two ideas and lines with no visual all become obvious at once.
- Dividing the work: the illustrator knows which assets to design and the animator knows what each shot needs.
- Protection from rework: panel approval comes before the most expensive stage, which is animation.
What you need before drawing
- An approved script: ideally in the two-column audio and visual format described in writing an explainer video script.
- The aspect ratio: 16:9 for websites and YouTube, 9:16 for stories and short-form video, 1:1 or 4:5 for feed posts. If you need several, choose a master format and plan how scenes will adapt to the others. For vertical video, respect the safe zones covered by platform buttons and captions at the top and bottom, and check them in each platform's current guidelines.
- Visual references: a mood board with examples of the style, colors and movement you're after.
- Brand guidelines: colors, fonts and logo rules, as set out in your brand guidelines.
- A timing estimate: a scratch voice recording, or at least an estimated duration for each line.
Step 1: thumbnails
Start with very small, quick sketches, several to a page. Their purpose is to explore composition before committing to any detail: what's in the frame, how big the shot is, and where the center of interest sits. Simple shapes and stick figures are completely fine at this point.
For the scenes that matter most, such as the opening, the product reveal and the call to action, sketch two or three alternatives and pick the clearest. For every sketch, ask:
- Where does the eye land first, and where does it go next?
- Does the scene carry exactly one idea?
- How does this scene connect to the next one?
That last question separates a flowing video from a slideshow. In motion graphics, transitions are part of the story: a circle in scene two becomes the app's button in scene three, or a movement to the left carries on from the same direction in the next shot. Work these links out now, not during animation. Staging, one of the 12 principles of animation, starts right here in the thumbnails.
Step 2: storyboard panels
Clean up the chosen thumbnails and redraw them as panels in the video's real aspect ratio. Each panel represents a shot or key moment; a complex movement may need several panels showing its start, middle and end.
What goes with each panel
| Field | Example |
|---|---|
| Scene and shot number | 3-1 |
| Voice-over | "With Barid, you book a certified technician in a few taps." |
| Action | The phone rises into frame and the logo appears on its screen |
| Camera | Slow push-in toward the phone screen |
| Motion | Icons appear staggered, right to left in the Arabic version |
| Sound effects and music | Soft click, music lifts slightly |
| Estimated duration | 3 seconds |
| Transition to next panel | The background circle becomes the booking button |
It looks like a lot, but every field answers a question the animator would otherwise ask later. The most neglected field is sound, even though a sound effect often sets the timing of the movement itself.
The language of arrows and symbols
- Arrow inside the frame: an element moving from one position to another.
- Dotted line: a curved or complex motion path.
- Rectangle inside the frame: where the camera ends up after a push-in.
- Arrows on the frame edges: a camera pan or tilt.
- Small numbers on positions: the order in which several elements appear.
Put a legend for these symbols on the first page so everyone reads them the same way.
The animatic: your storyboard in real time
An animatic is a video built from the storyboard panels themselves, laid out on a timeline with the scratch voice-over and temporary music, so each panel stays on screen for its real duration. Simple moves, such as a panel sliding or scaling, can be added to get closer to the final feel.
Its value is that it reveals what still panels can't: a scene too short for its text to be read, a scene that drags, a total running time that overshoots the brief, and moments where motion must hit a word or a beat. Clients also grasp a video they watch much faster than panels they read.
When the final voice-over is recorded, update the animatic to match it. It then becomes the timing reference animators work against, scene by scene. Use temporary music for internal tests only and replace it with licensed music before anything is published, as explained in sound design for motion graphics.
Style frames
The storyboard answers "what happens, and when?" Style frames answer "what will it look like?" They are two to four fully designed frames at final resolution, taken from key scenes such as the opening, a how-it-works scene and the call to action, showing the colors, type, illustration style, textures and lighting exactly as they will appear in the video.
Style frames are often designed in parallel with the storyboard once the script is approved. If the client is choosing between visual directions, offer no more than two, each with at least two frames so the consistency of the style is visible. Once approved, every frame of the video must match them; they become the quality benchmark for the whole team.
Approvals before animation
A well-run project moves through a chain of approvals, each with a specific focus:
- Script: approve the words and the message.
- Storyboard: approve the content, the order and the number of scenes.
- Style frames: approve the final look.
- Animatic with the final voice-over: approve pacing and timing.
- Only then does animation begin.
When presenting the storyboard, walk the client through it panel by panel yourself, and make clear from the start that the drawings are rough and not the final look, so they judge the idea rather than the sketching. Ask questions that suit the stage: color discussions belong with style frames, not the storyboard. Ask for consolidated feedback from a single decision-maker, and get the approval in writing with a date.
Arabic and bilingual considerations
- Panel reading order: Arabic readers scan a page from the right, English readers from the left. Number panels clearly so the order is never ambiguous, especially in mixed teams or with international clients.
- Text space: Arabic and English text differ in length and height, and Arabic fonts often need more vertical room. Reserve text zones in each panel big enough for both versions, and see typography and Arabic fonts in design.
- Direction of motion: in the Arabic version, motion arrows follow right-to-left reading. Decide early whether the whole scene will be mirrored or just the text, and never mirror logos, product shots, clocks or maps.
- Cultural details: setting, clothing and gestures should suit the audience, and fixing them in the storyboard is far easier than after animation.
Storyboarding tools
The tool matters less than clarity and the right aspect ratio. Common choices include paper and pen with printed templates, tablet drawing apps such as Procreate, Photoshop, and dedicated software such as Storyboard Pro. For simple motion graphics projects, building panels from shapes and text in Illustrator, Figma or even presentation software can be enough. If you also edit video, the thinking on rhythm and scene structure in storytelling in editing helps a great deal when ordering panels.
Common mistakes
- Skipping the storyboard because the video is "short".
- Drawing in too much detail too early, then hesitating to change what took hours.
- Panels with no notes on sound or duration.
- Drawing in a different aspect ratio from the final video.
- Ignoring transitions between scenes.
- Approving the storyboard without an animatic, then discovering pacing problems during animation.
- Showing rough sketches to the client without explaining that they are rough.
Practical checklist before animation starts
- Is every line of the script drawn in panels, with one idea per panel?
- Are the panels in the right aspect ratio, with safe zones respected?
- Does every panel carry notes on audio, camera, motion and duration?
- Has the transition from each scene to the next been planned?
- Has an animatic been built with the final voice-over, and does its length match the brief?
- Have the style frames been approved?
- Have motion direction and text space been planned for the Arabic version?
- Are all approvals in writing?
With this list complete, animation becomes the execution of a clear plan rather than a search for an idea. For the full production picture, go back to the complete guide to animation and motion graphics.